Author: Kriszti

  • The hexagon cardigan

    Hello friends,

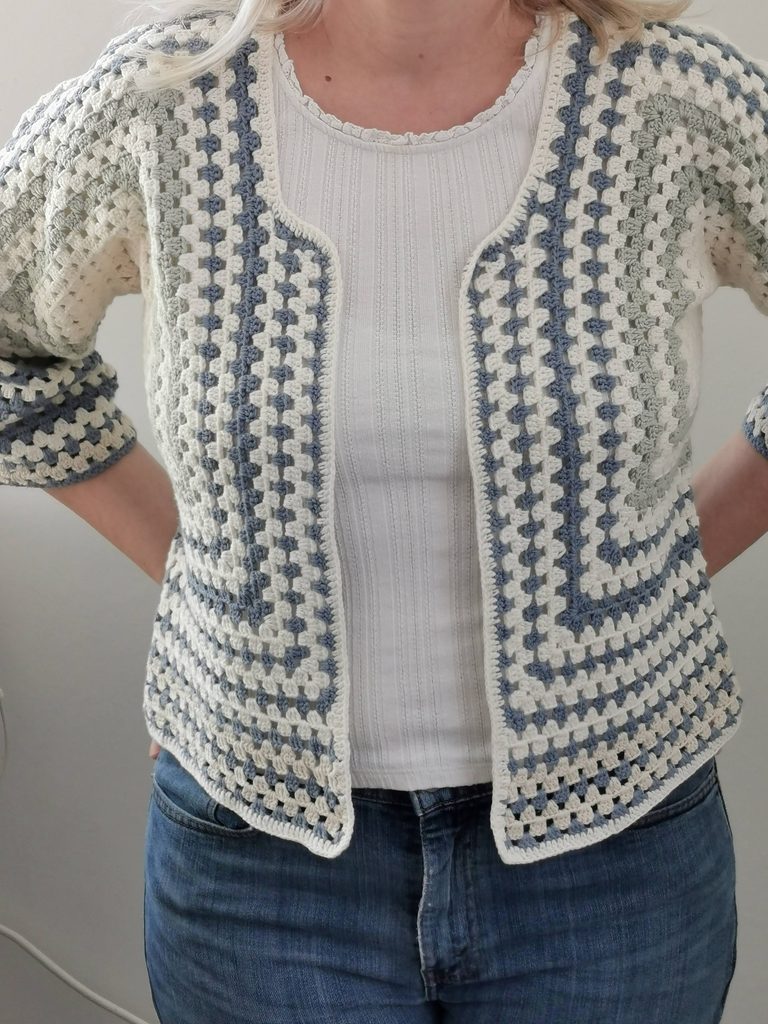
    This is my first crocheted hexagon cardigan; it was easy and fun to make, but you need the right pattern. Some hexagons aren’t for cardigans; I’ve learned that from experience. 

    I used Drops Saffran cotton yarn from LindeHobby and a free pattern from Pinterest. After I made hexagons I could fold, and that were wide enough for the arm, I focused on the back of the cardigan to make it fit (wider). Before I crocheted the two pieces together, I made 5-5 rows at he back on both sides. Before I joined the upper part of the sleeves, I crocheted 1-1 row.

    Next, I made the front part 5-5 rows wider. I made the sleeves longer, by crocheting 12 rows. Finally, I made the cardigan longer from the waist down. I crocheted 1 round of dc in every stitch, starting at the bottom, then continuing up the front and neck.
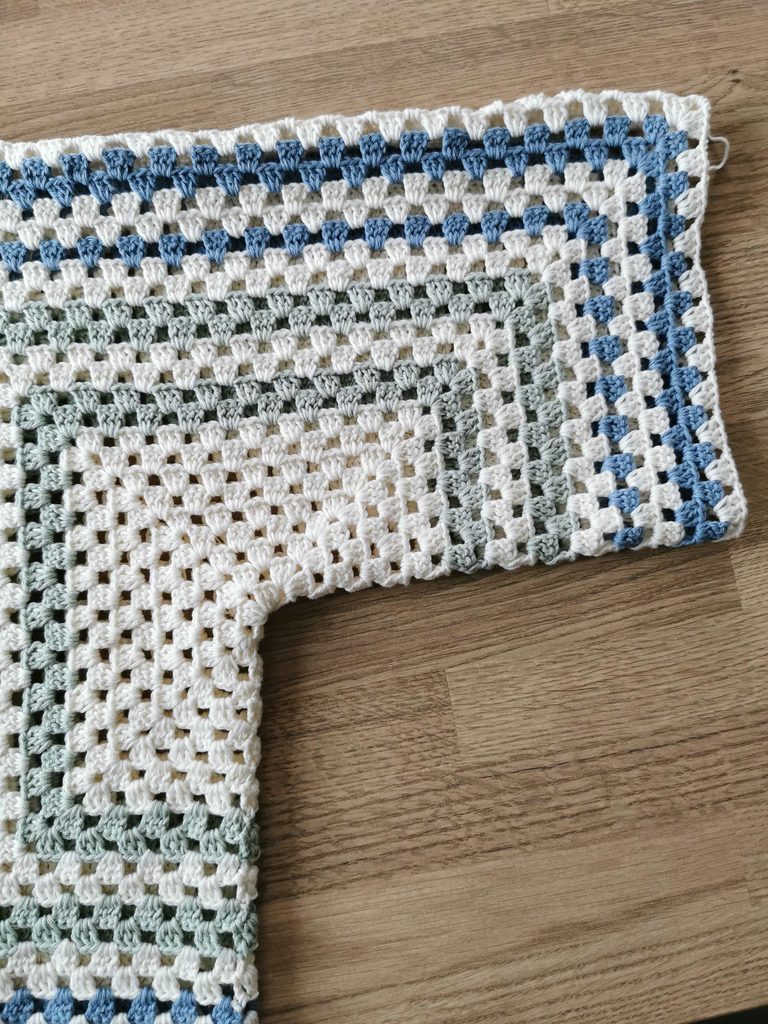
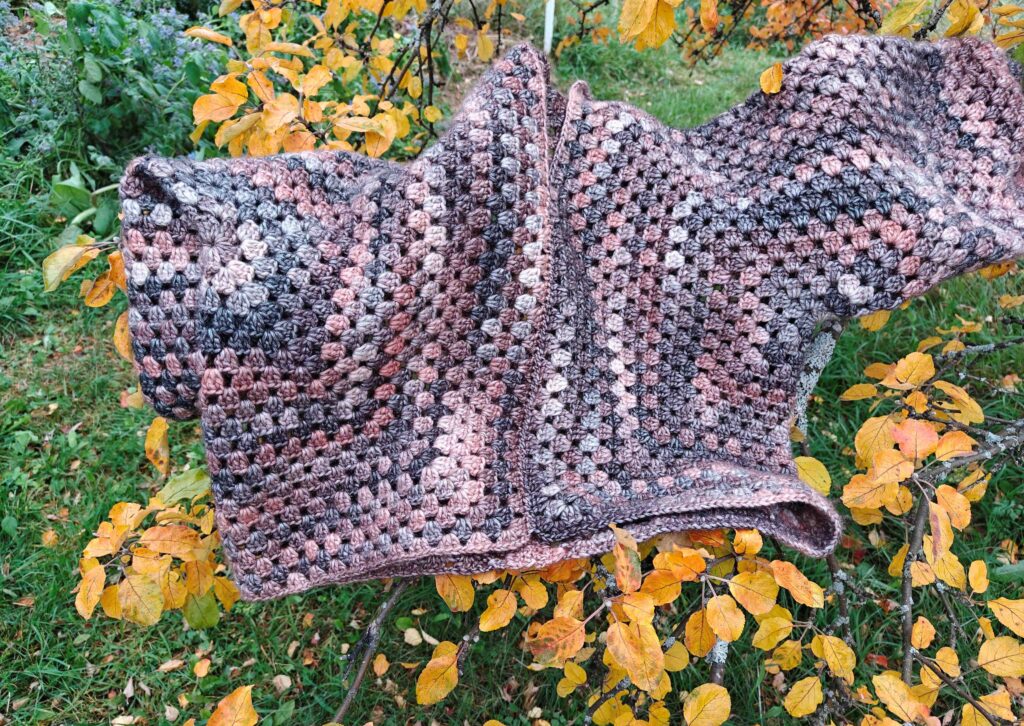
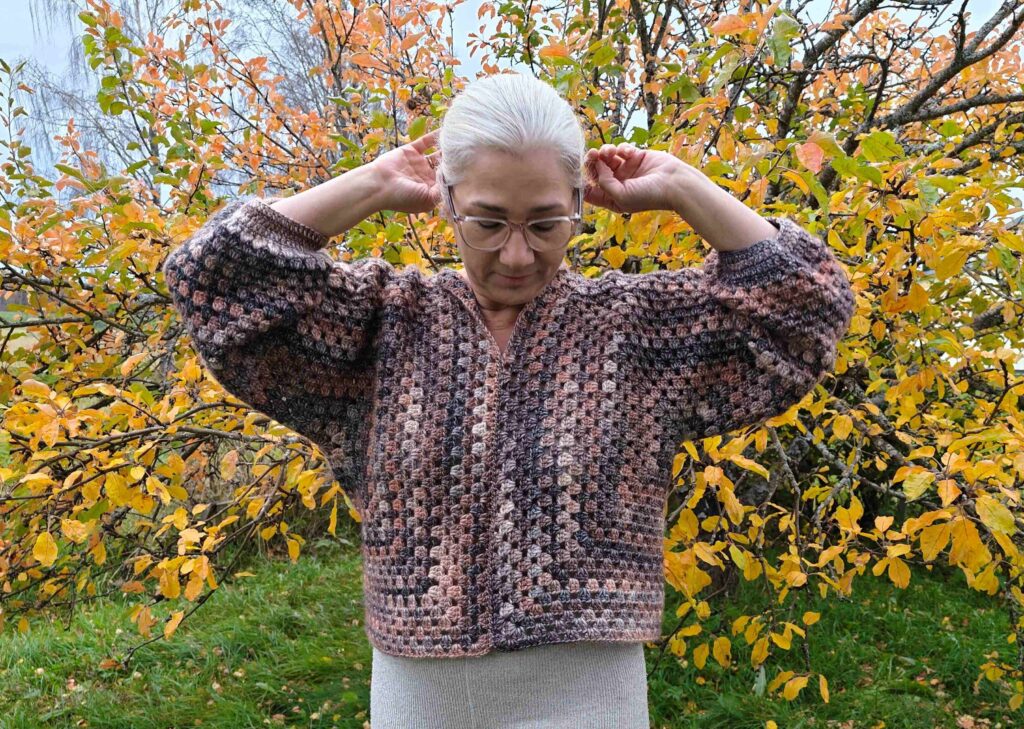
    I also made a pullover with the hexagon pattern. I used Cascata yarn from Hobbii, which is 61% cotton and 39% acrylic. I used 600g (3 cakes) of yarn. I crocheted 2 hexagons, 22 rows big.

    I added 2-2 rows at the back and 6 rows at the sleeves. I made the cuff at the sleeves by decreasing in a single-crochet row; I crocheted in every other stitch, and it became half the sleeve width, which feels comfortable. I crocheted  3 rows of double crochet stitches to finish. I didn’t turn my work while crocheting, so the piece has a right side and a wrong side.
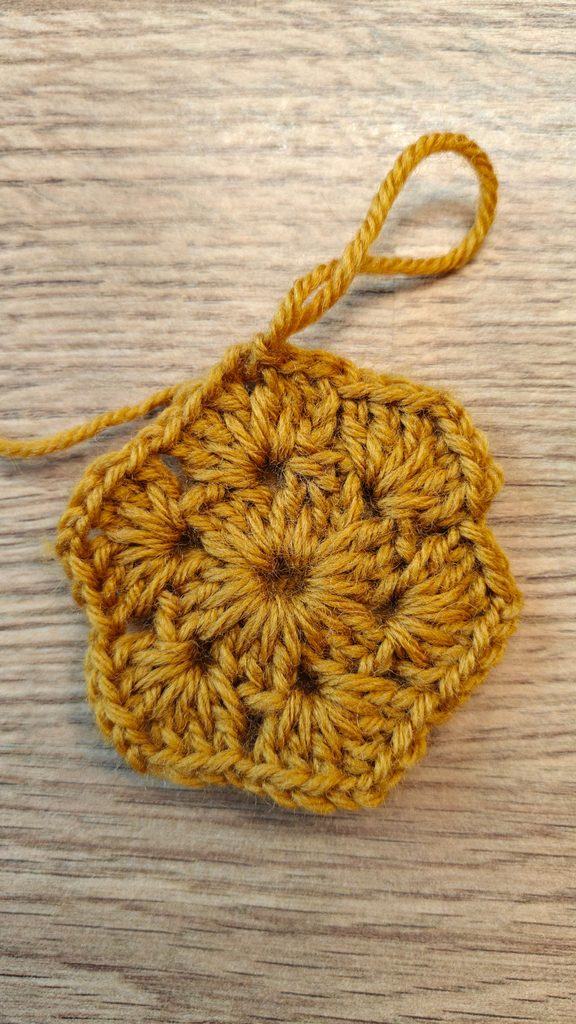
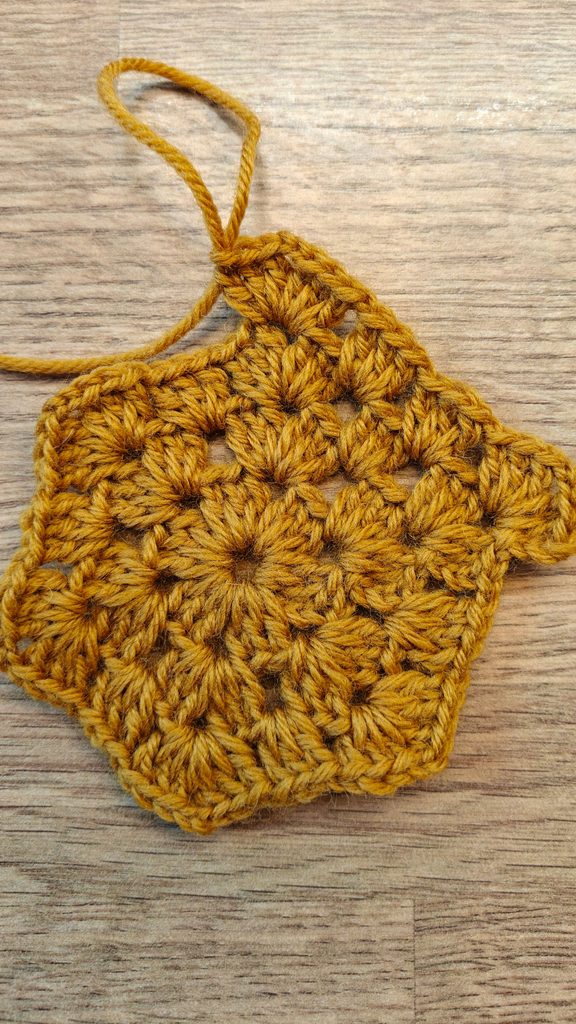
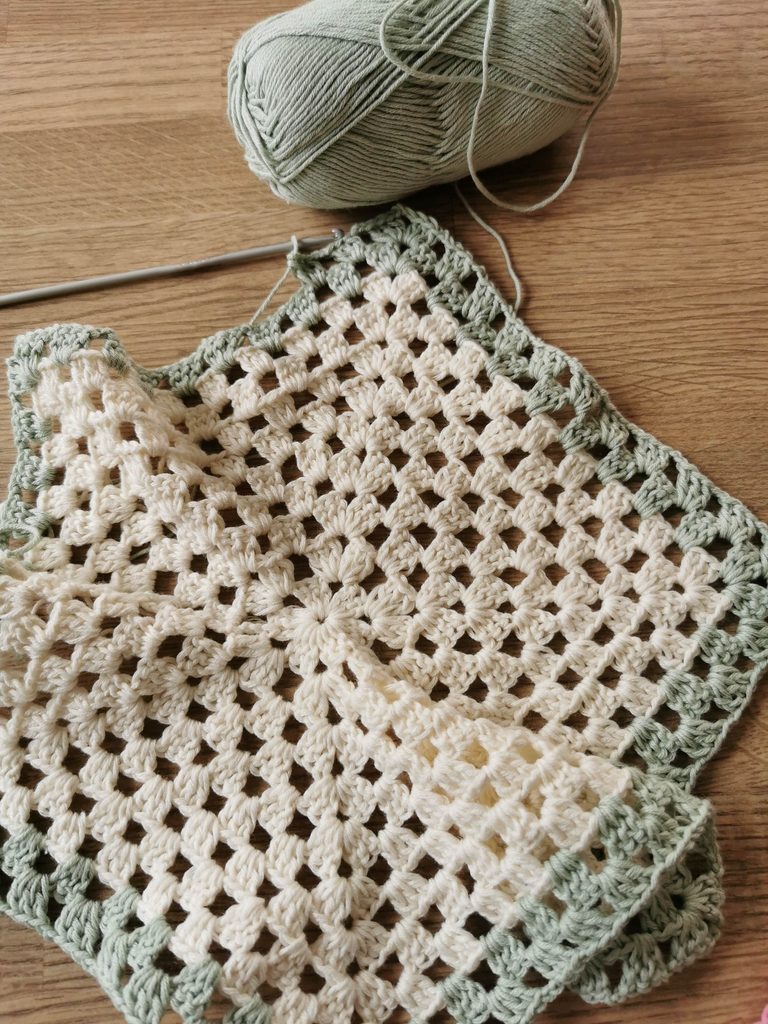
    The description of how to start the hexagon for a cardigan or sweater (not turning the work):
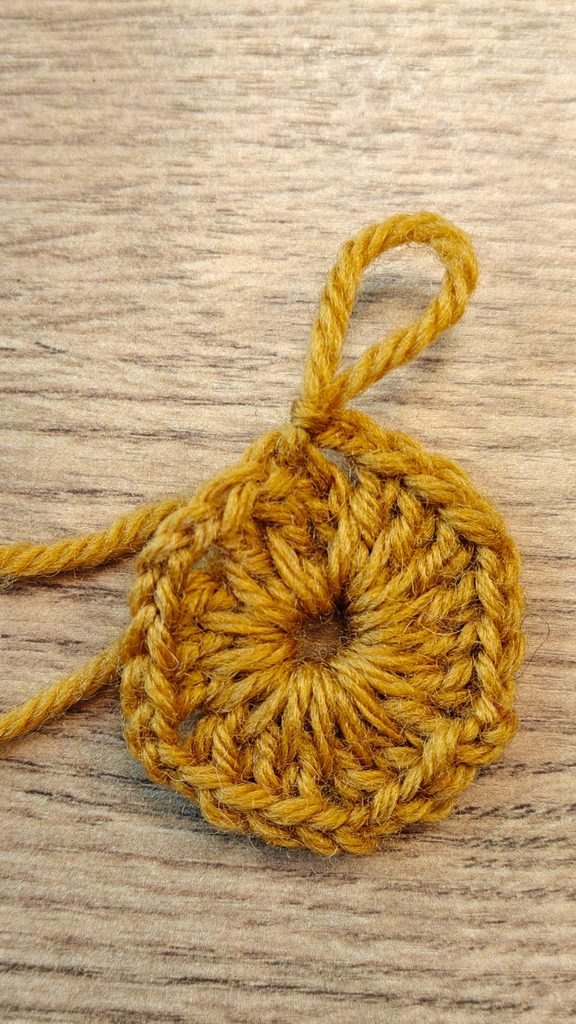
    Row 1:Chain 5, make a ring.

    Row 2:Chain 3, and crochet into the ring: 2 dc, ch 2,* 3 dc, ch 2* 5 times, a slip stitch into the 3rd chain, 2 slip stitches on top of the 2 dc (until you reach the ch2 part arch)

    Row 3:Chain 3(starting the chains from the ch2 arch) , 2dc, ch2, 3dc into the same arch,*ch 1,(crochet into the next ch2 arch) 3dc, ch2 3dc into the same arch* 5 times, ch1, slip stitch into the 3rd chain, 2 slip stitches on top of the dc

    (now you have 6 3dc,ch2,3dc clusters with 1ch between them. )

    Row 4:ch3, 2dc into the arch, ch2, 3dc into the same arch,*ch 1, 3dc into the ch1 part of the previous row, ch 1, 3 dc, ch 2, 3 dc into the same arch* 5 times. Ch1, 3dc, ch1, 1 slip stitch into the 3rd chain, 2 slip stitches on top of the 2dc.

    Row 5: chain 3, 2dc, ch2, 3dc into the same arch, *ch1, 3dc (into the ch1 part of the previous row), ch1 3dc, ch1, 3dc,ch 2,3dc into the same arch* 5 times, ch1, 3dc, ch1, 3dc, ch1, 1 slip stitch into the 3rd chain, 2 slip stitches on top of the 2dc.

    ch – chain

    dc – double crochet

    Happy crocheting, have a good day.
  • Woollen socks

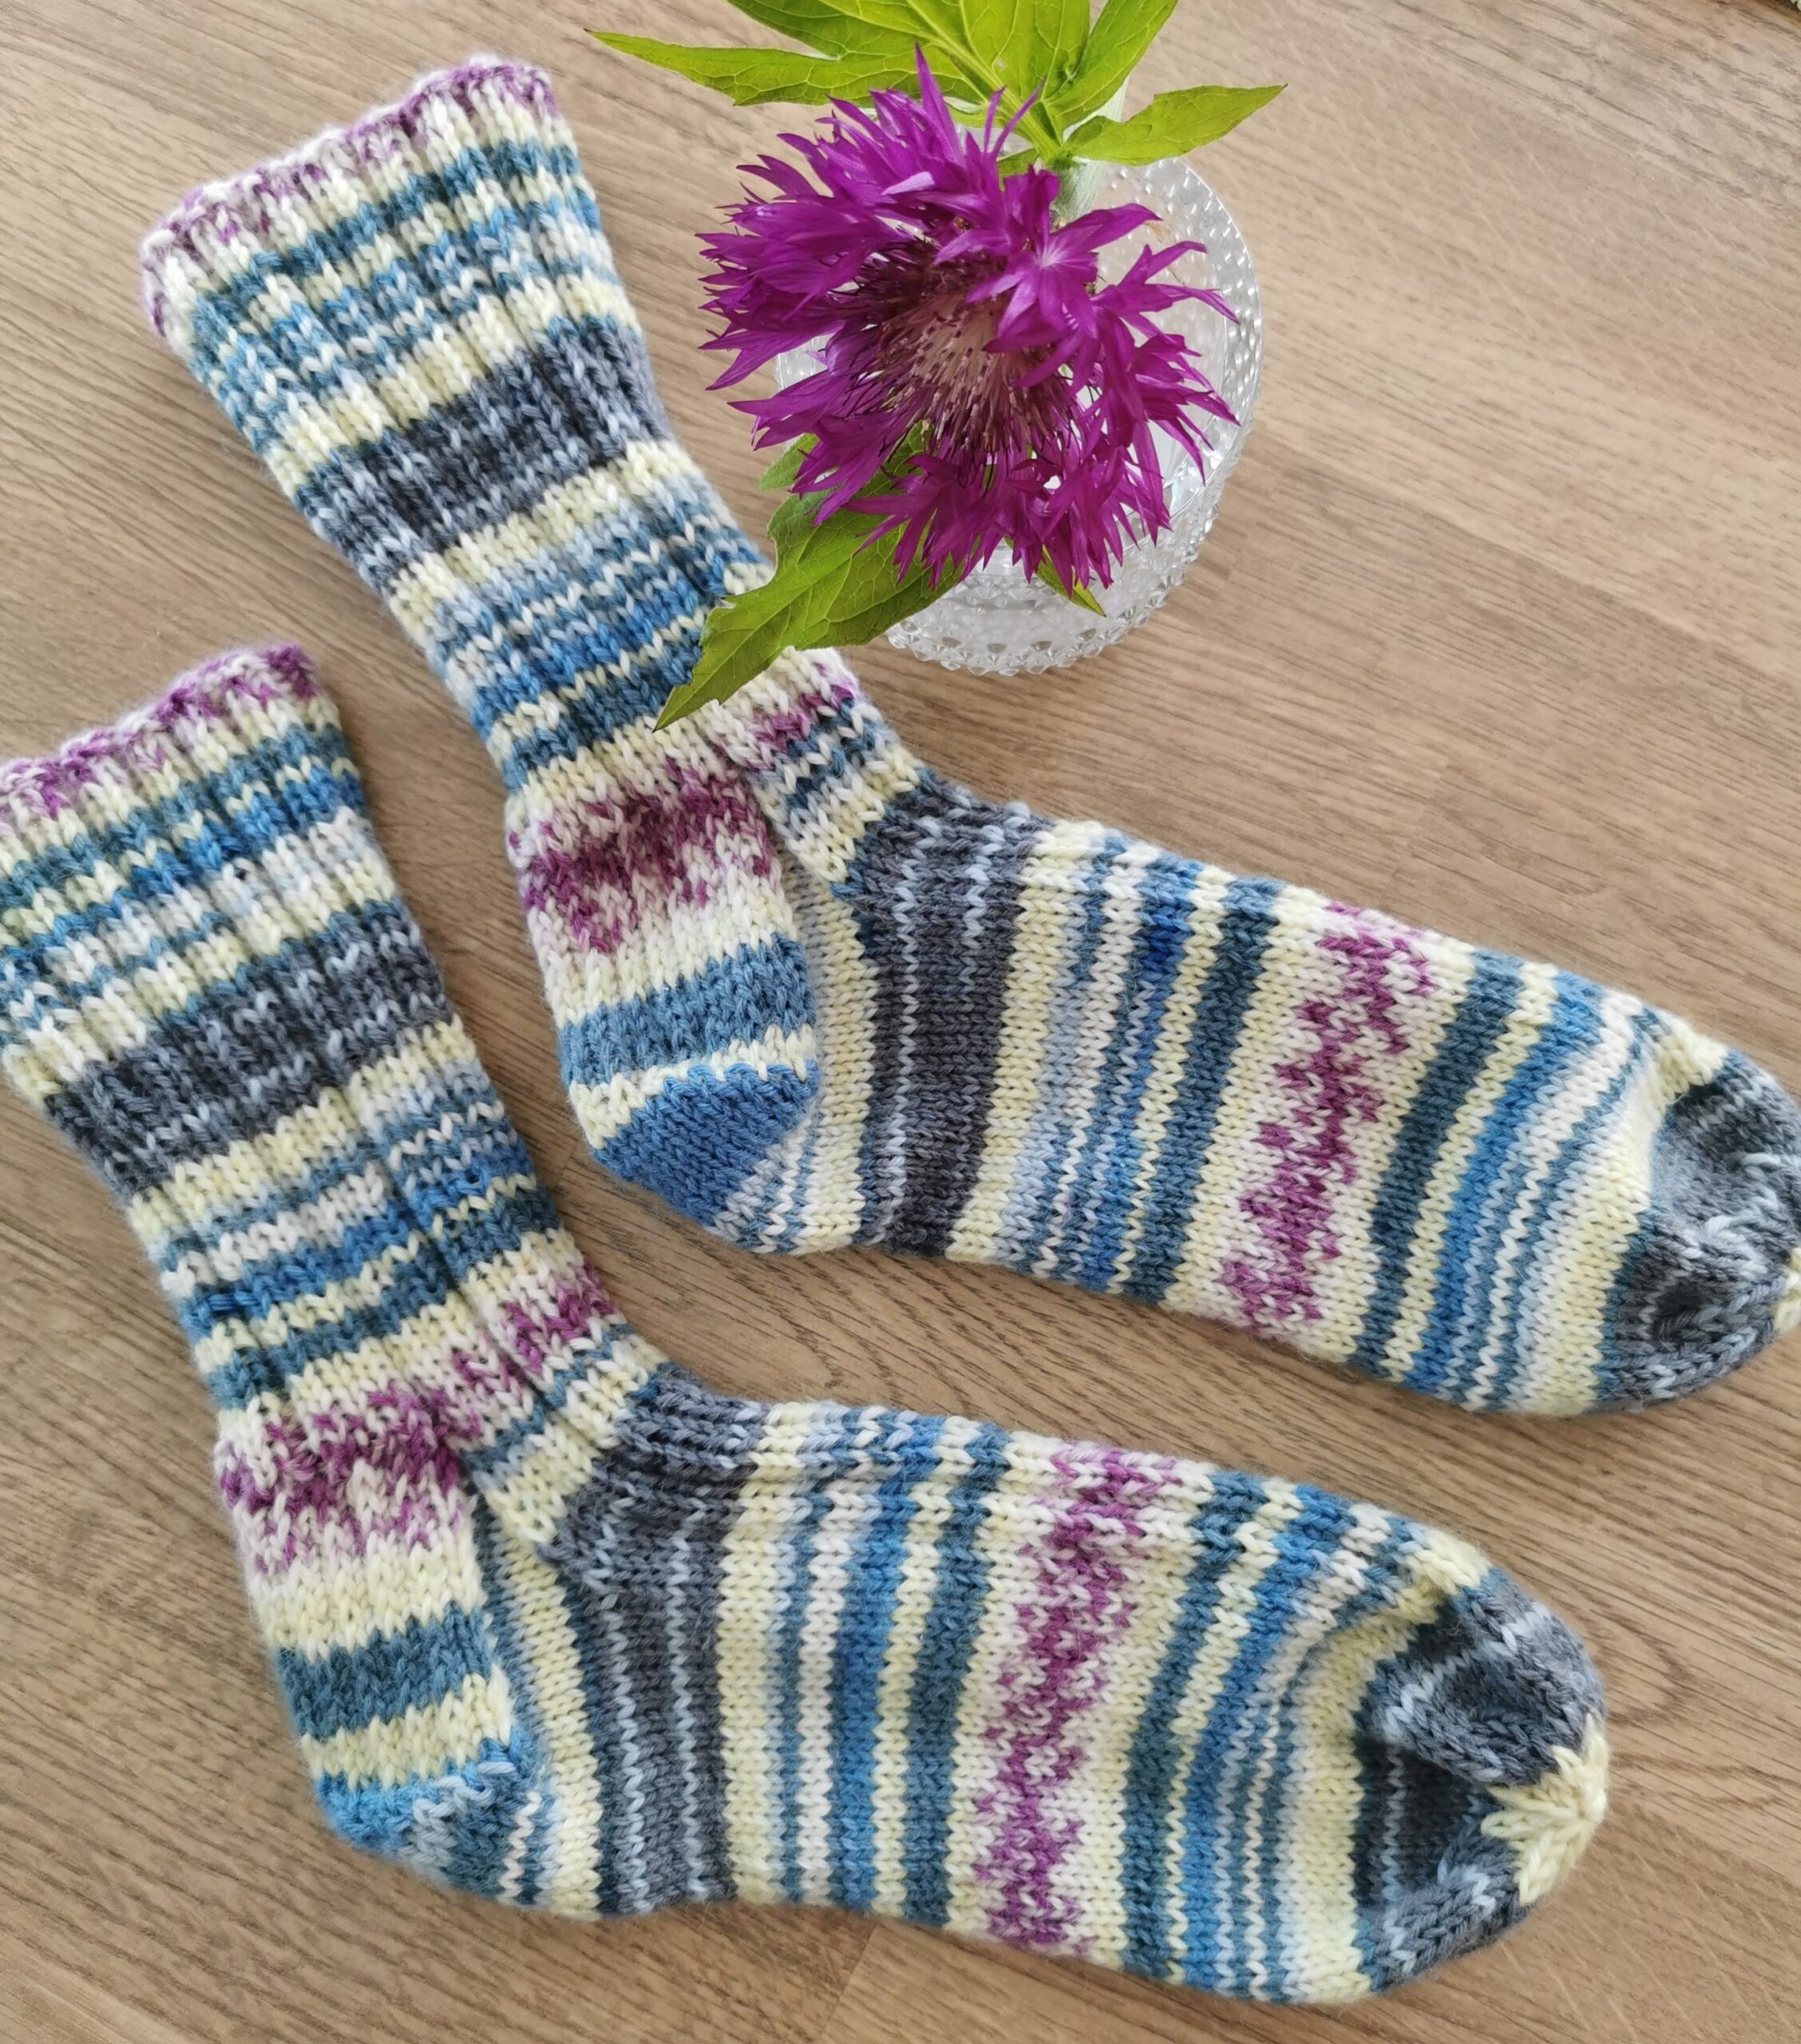
    Woollen socks

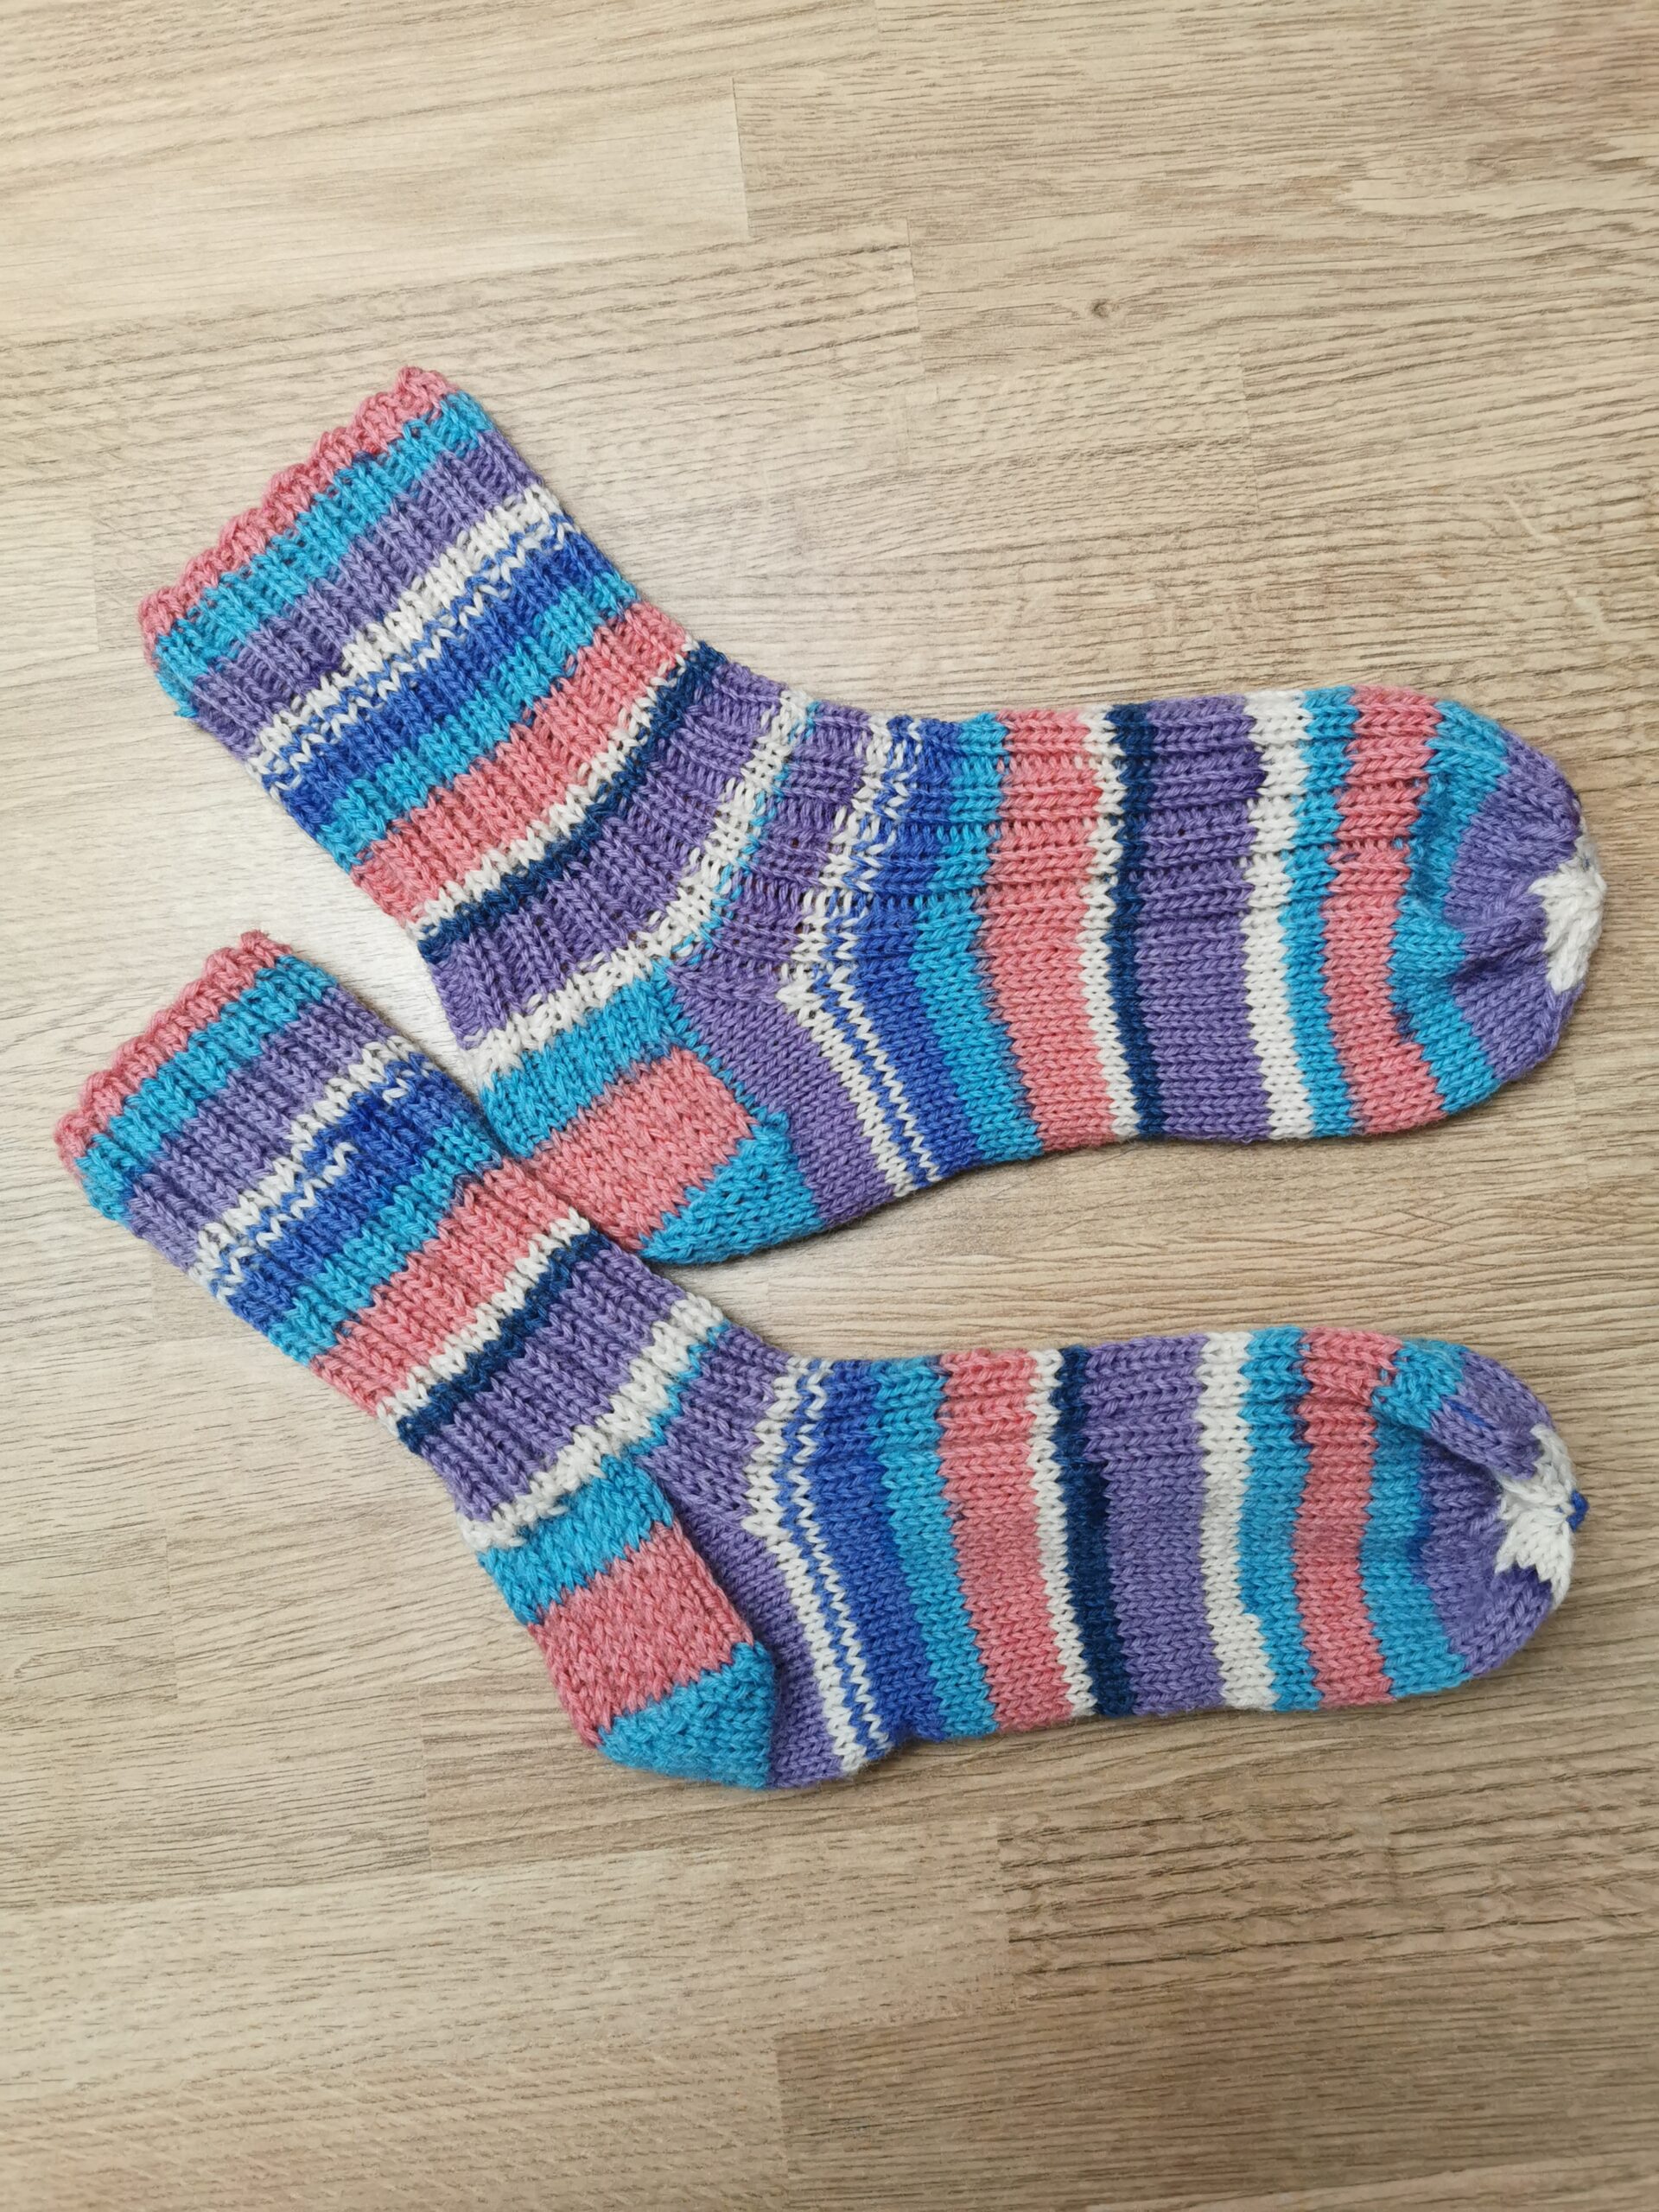
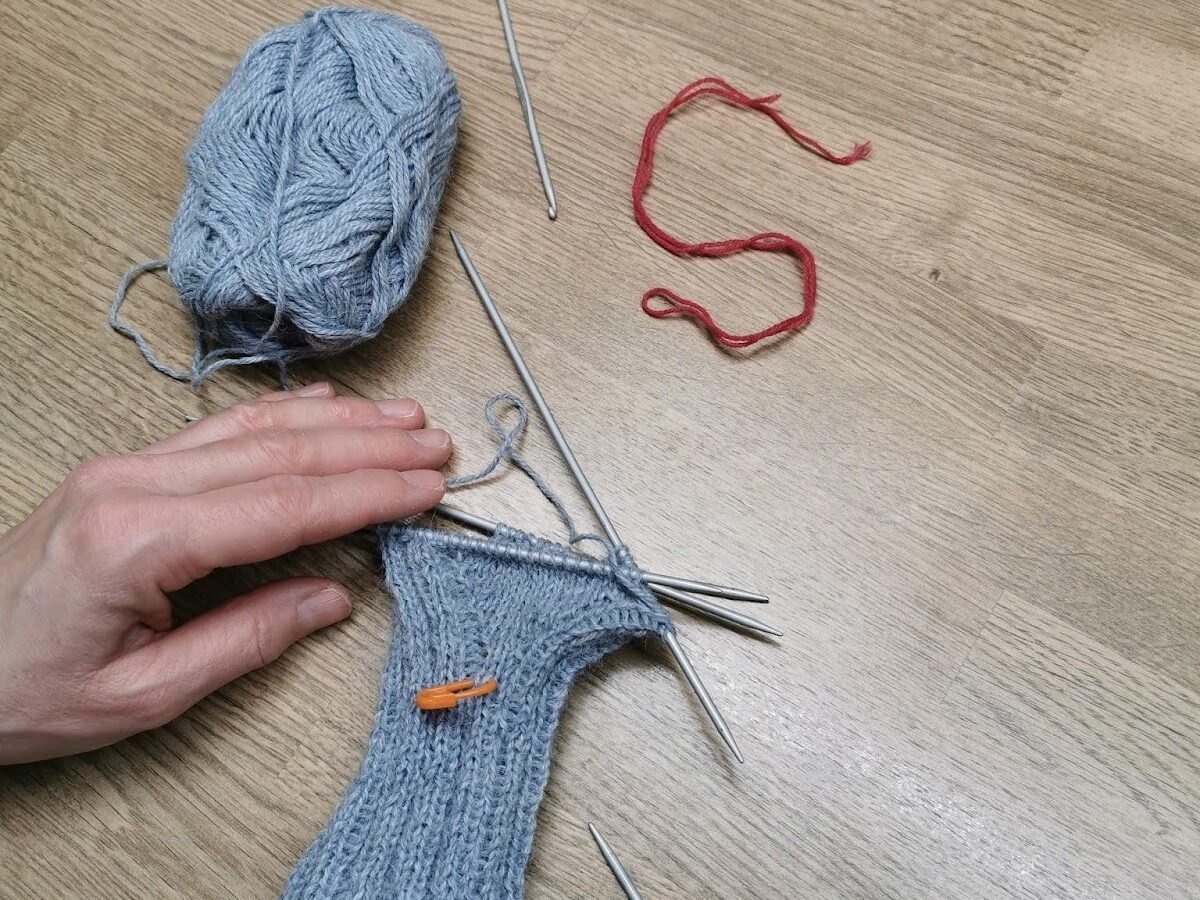
    We live in a cold climate, and I had to learn to knit socks for my children’s sake. Their feet were freezing while playing outside in the schoolyard and the forest.

    Later, I knitted a couple of pairs of socks for my parents, my husband and my friends.

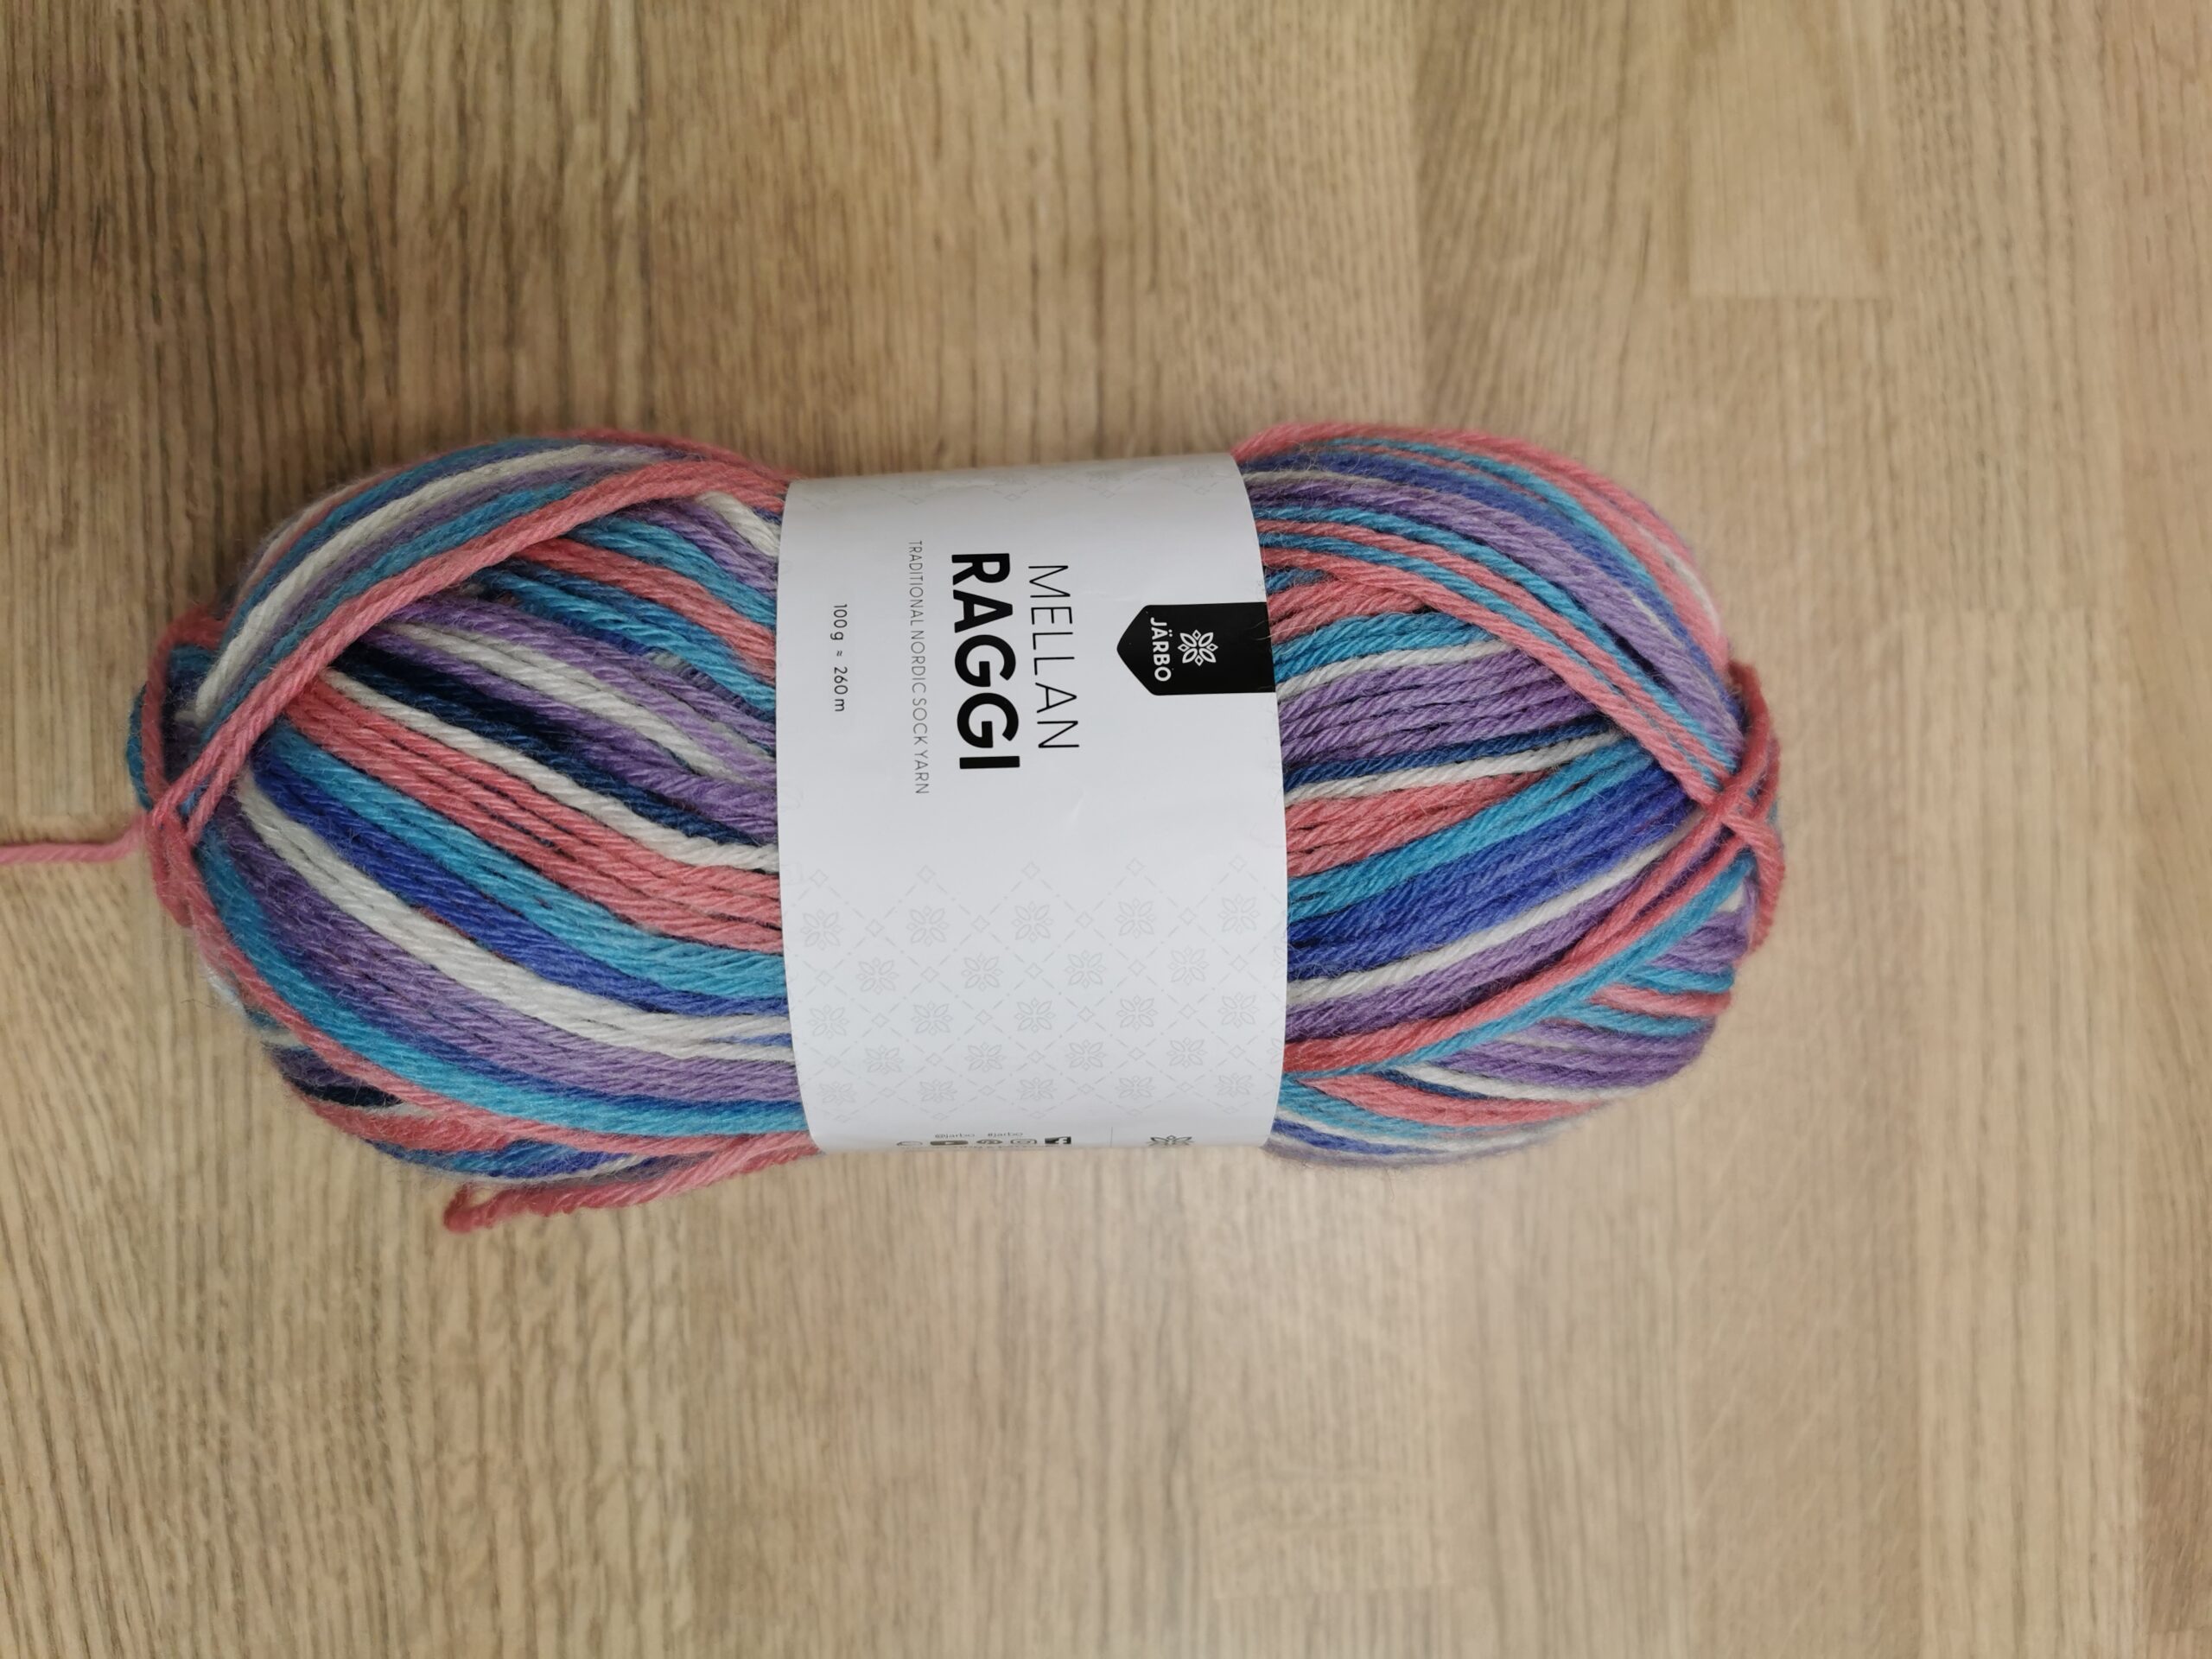
    For socks, I usually choose 75% woollen yarn; they last longer if the yarn contains polyamide and they are warm enough when we are outside in the winter weather.

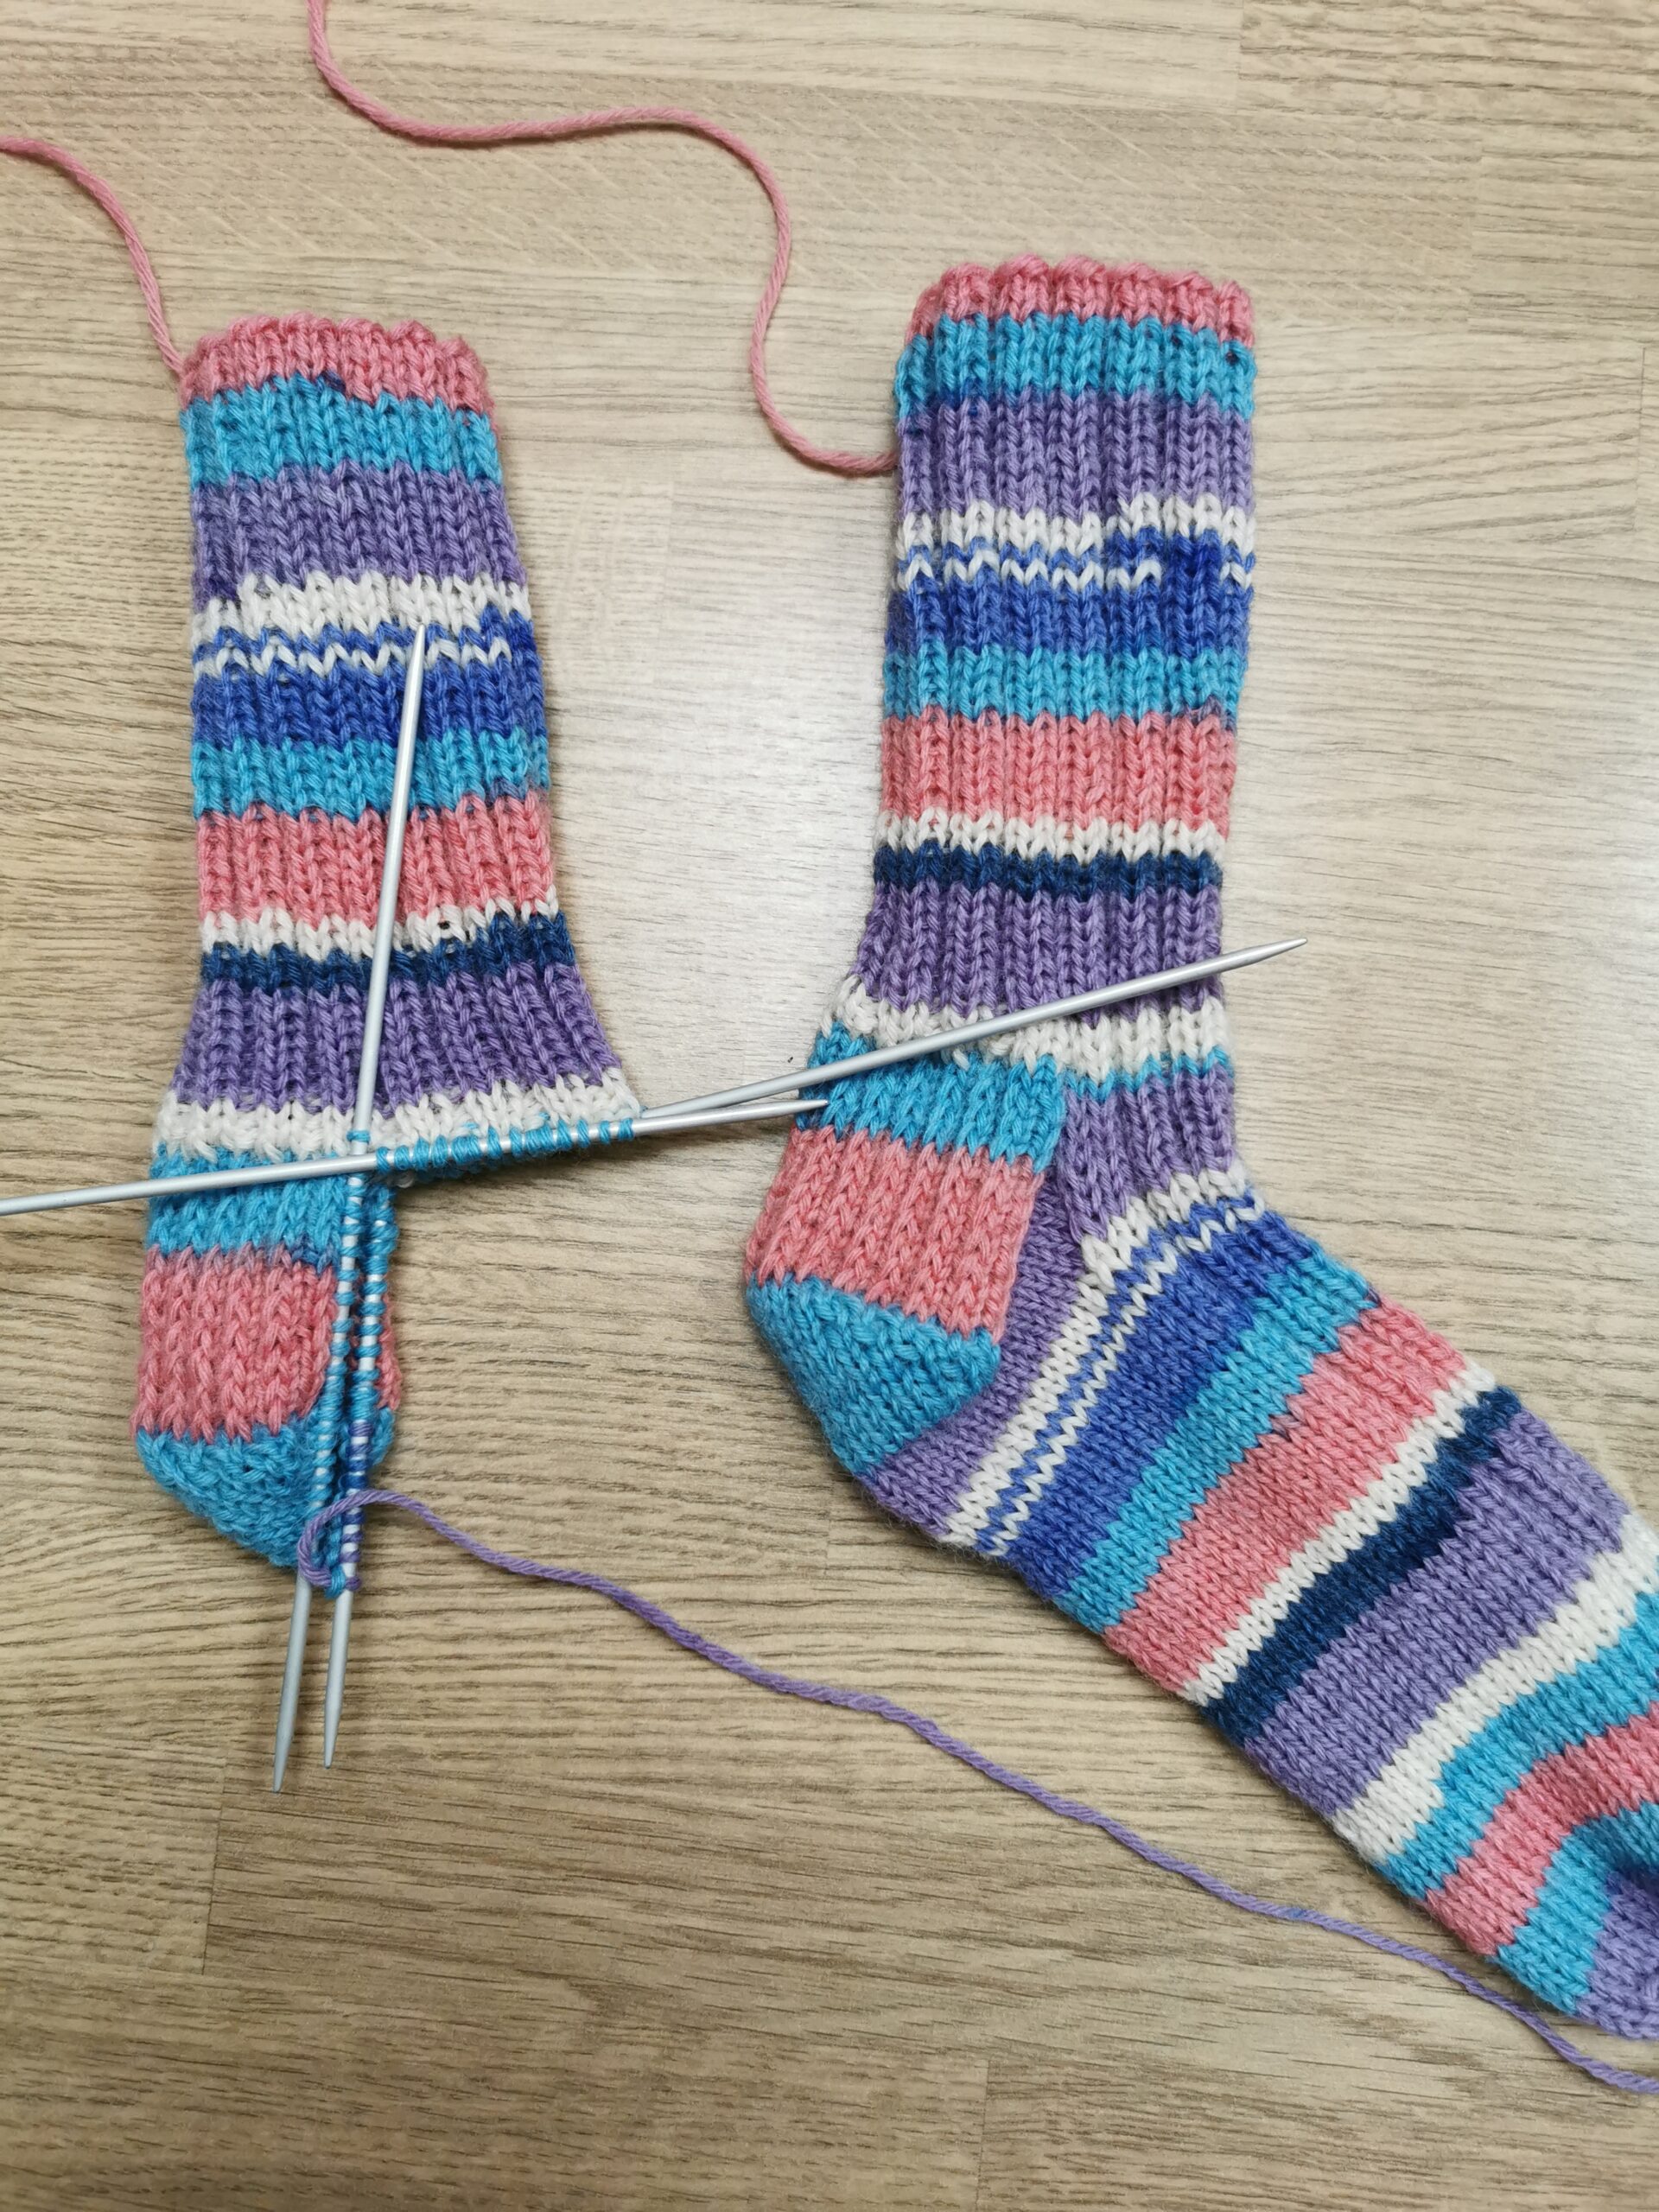
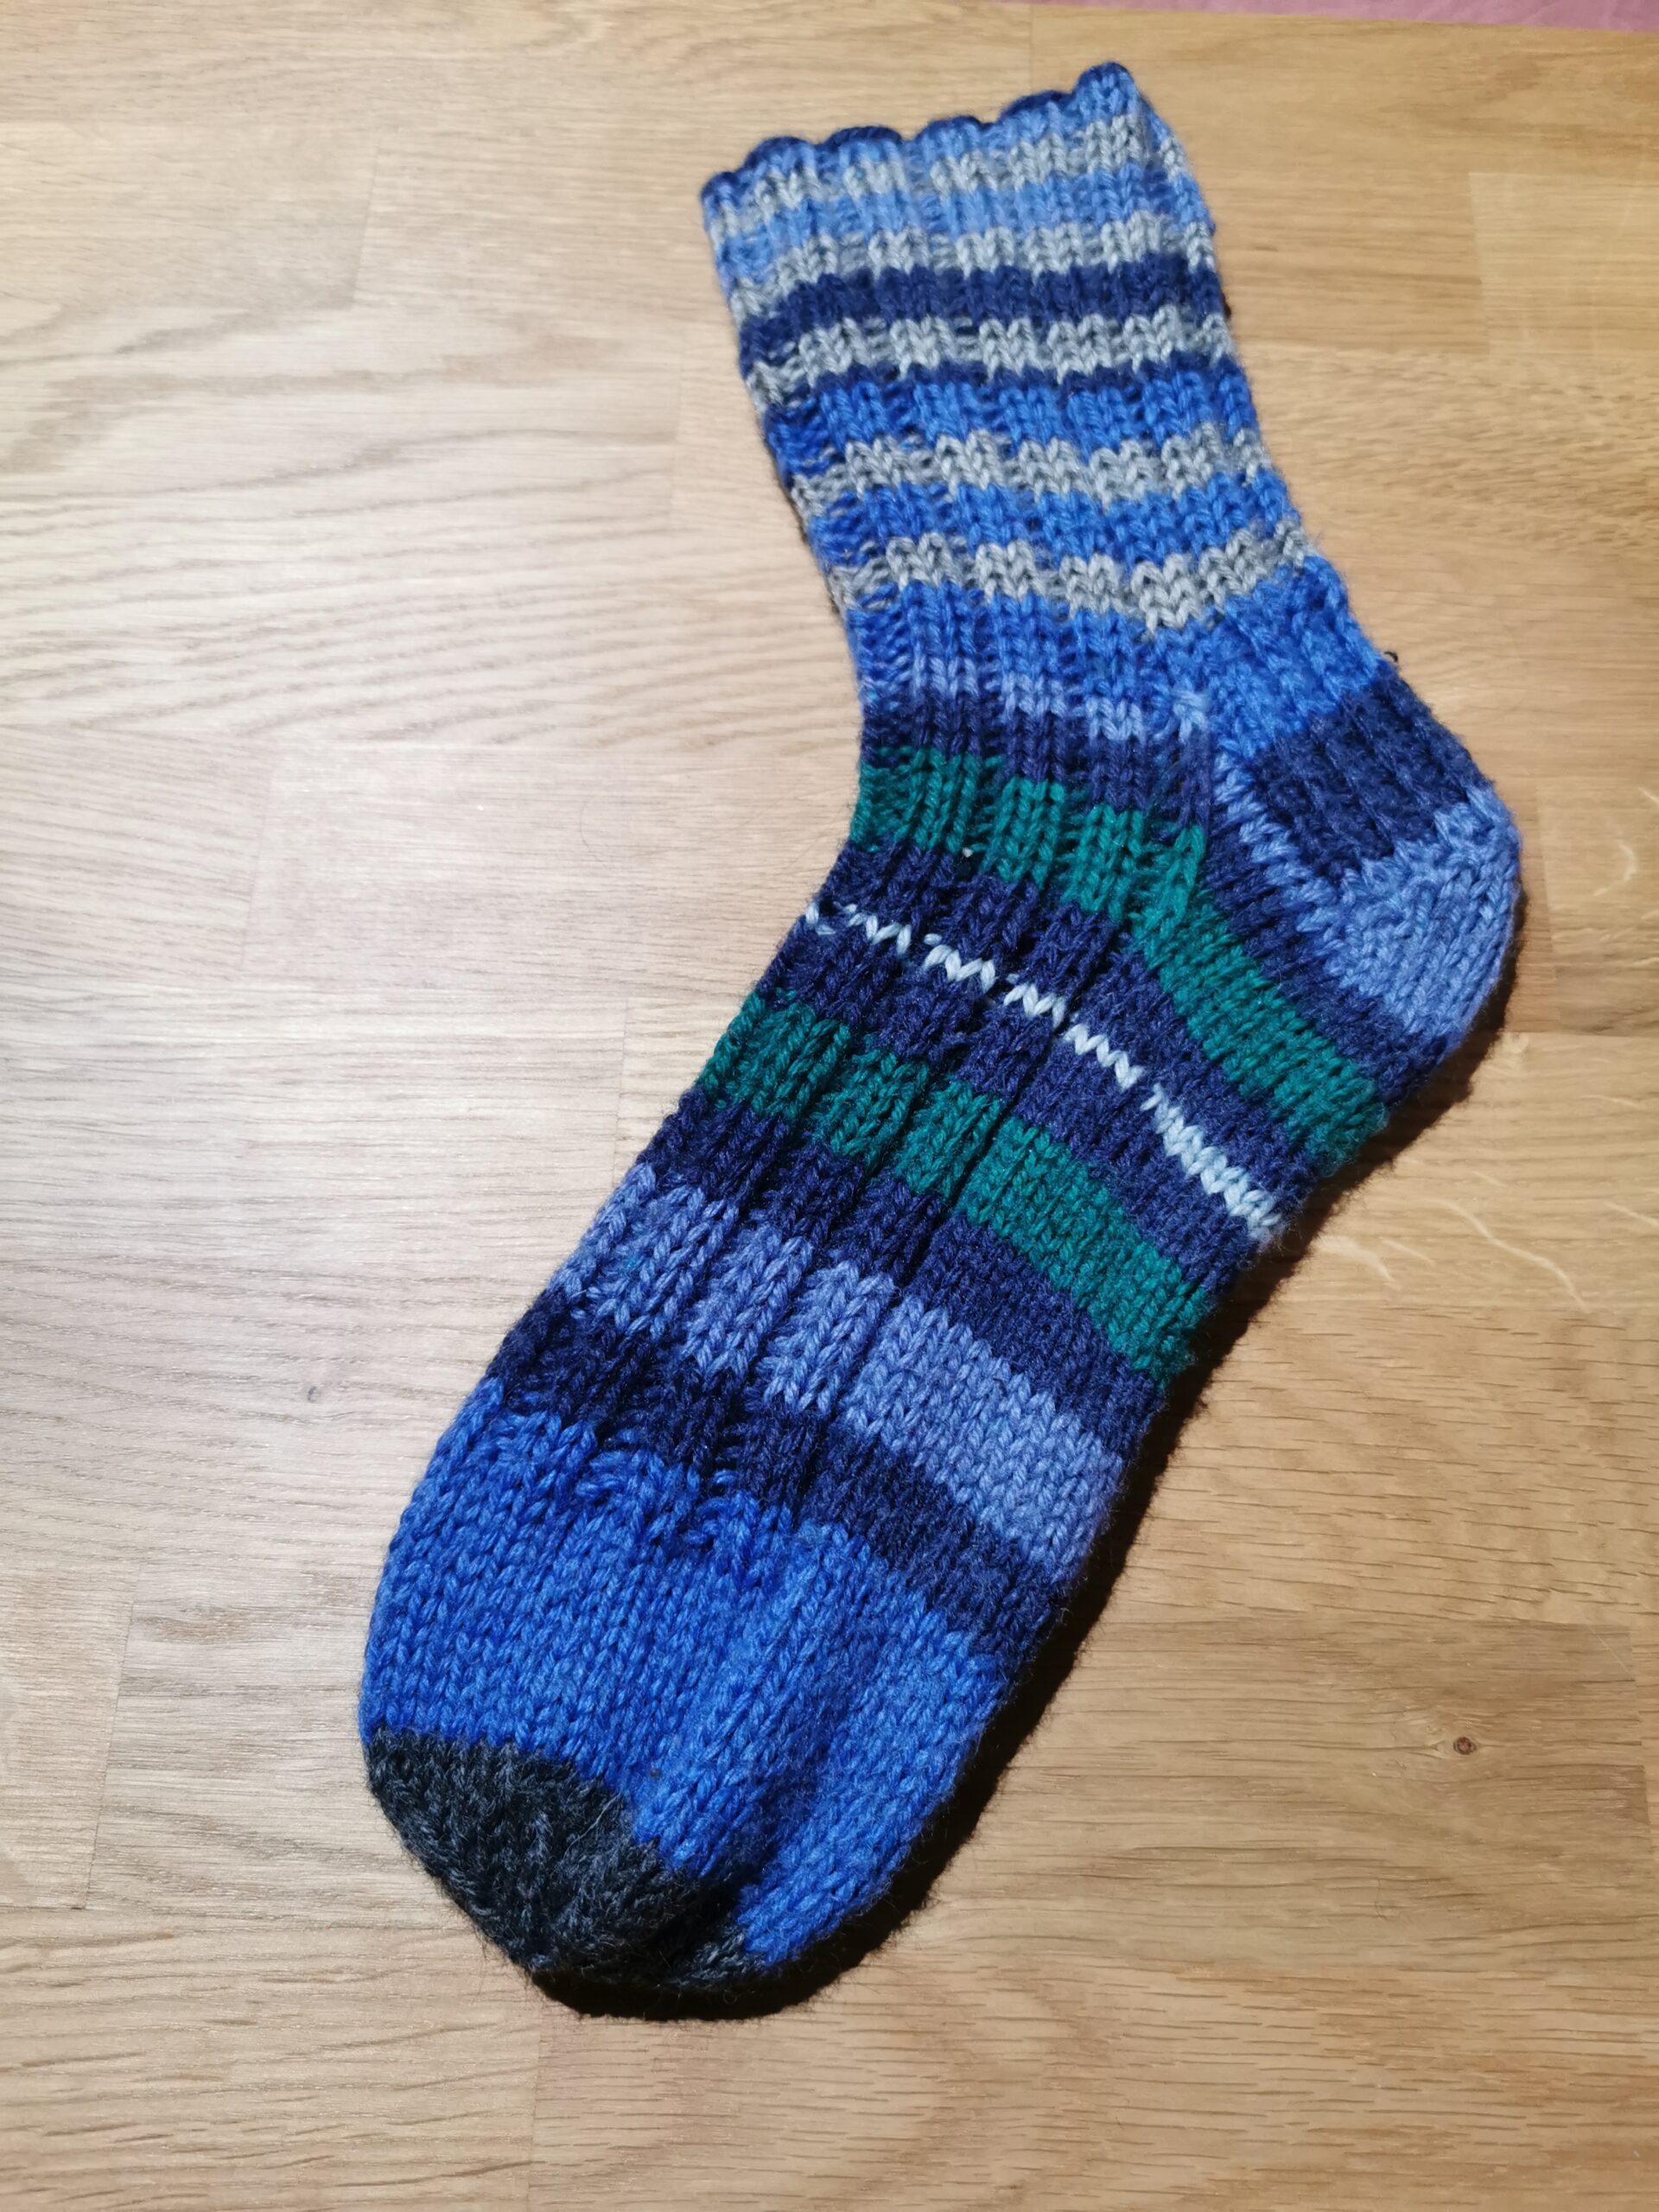
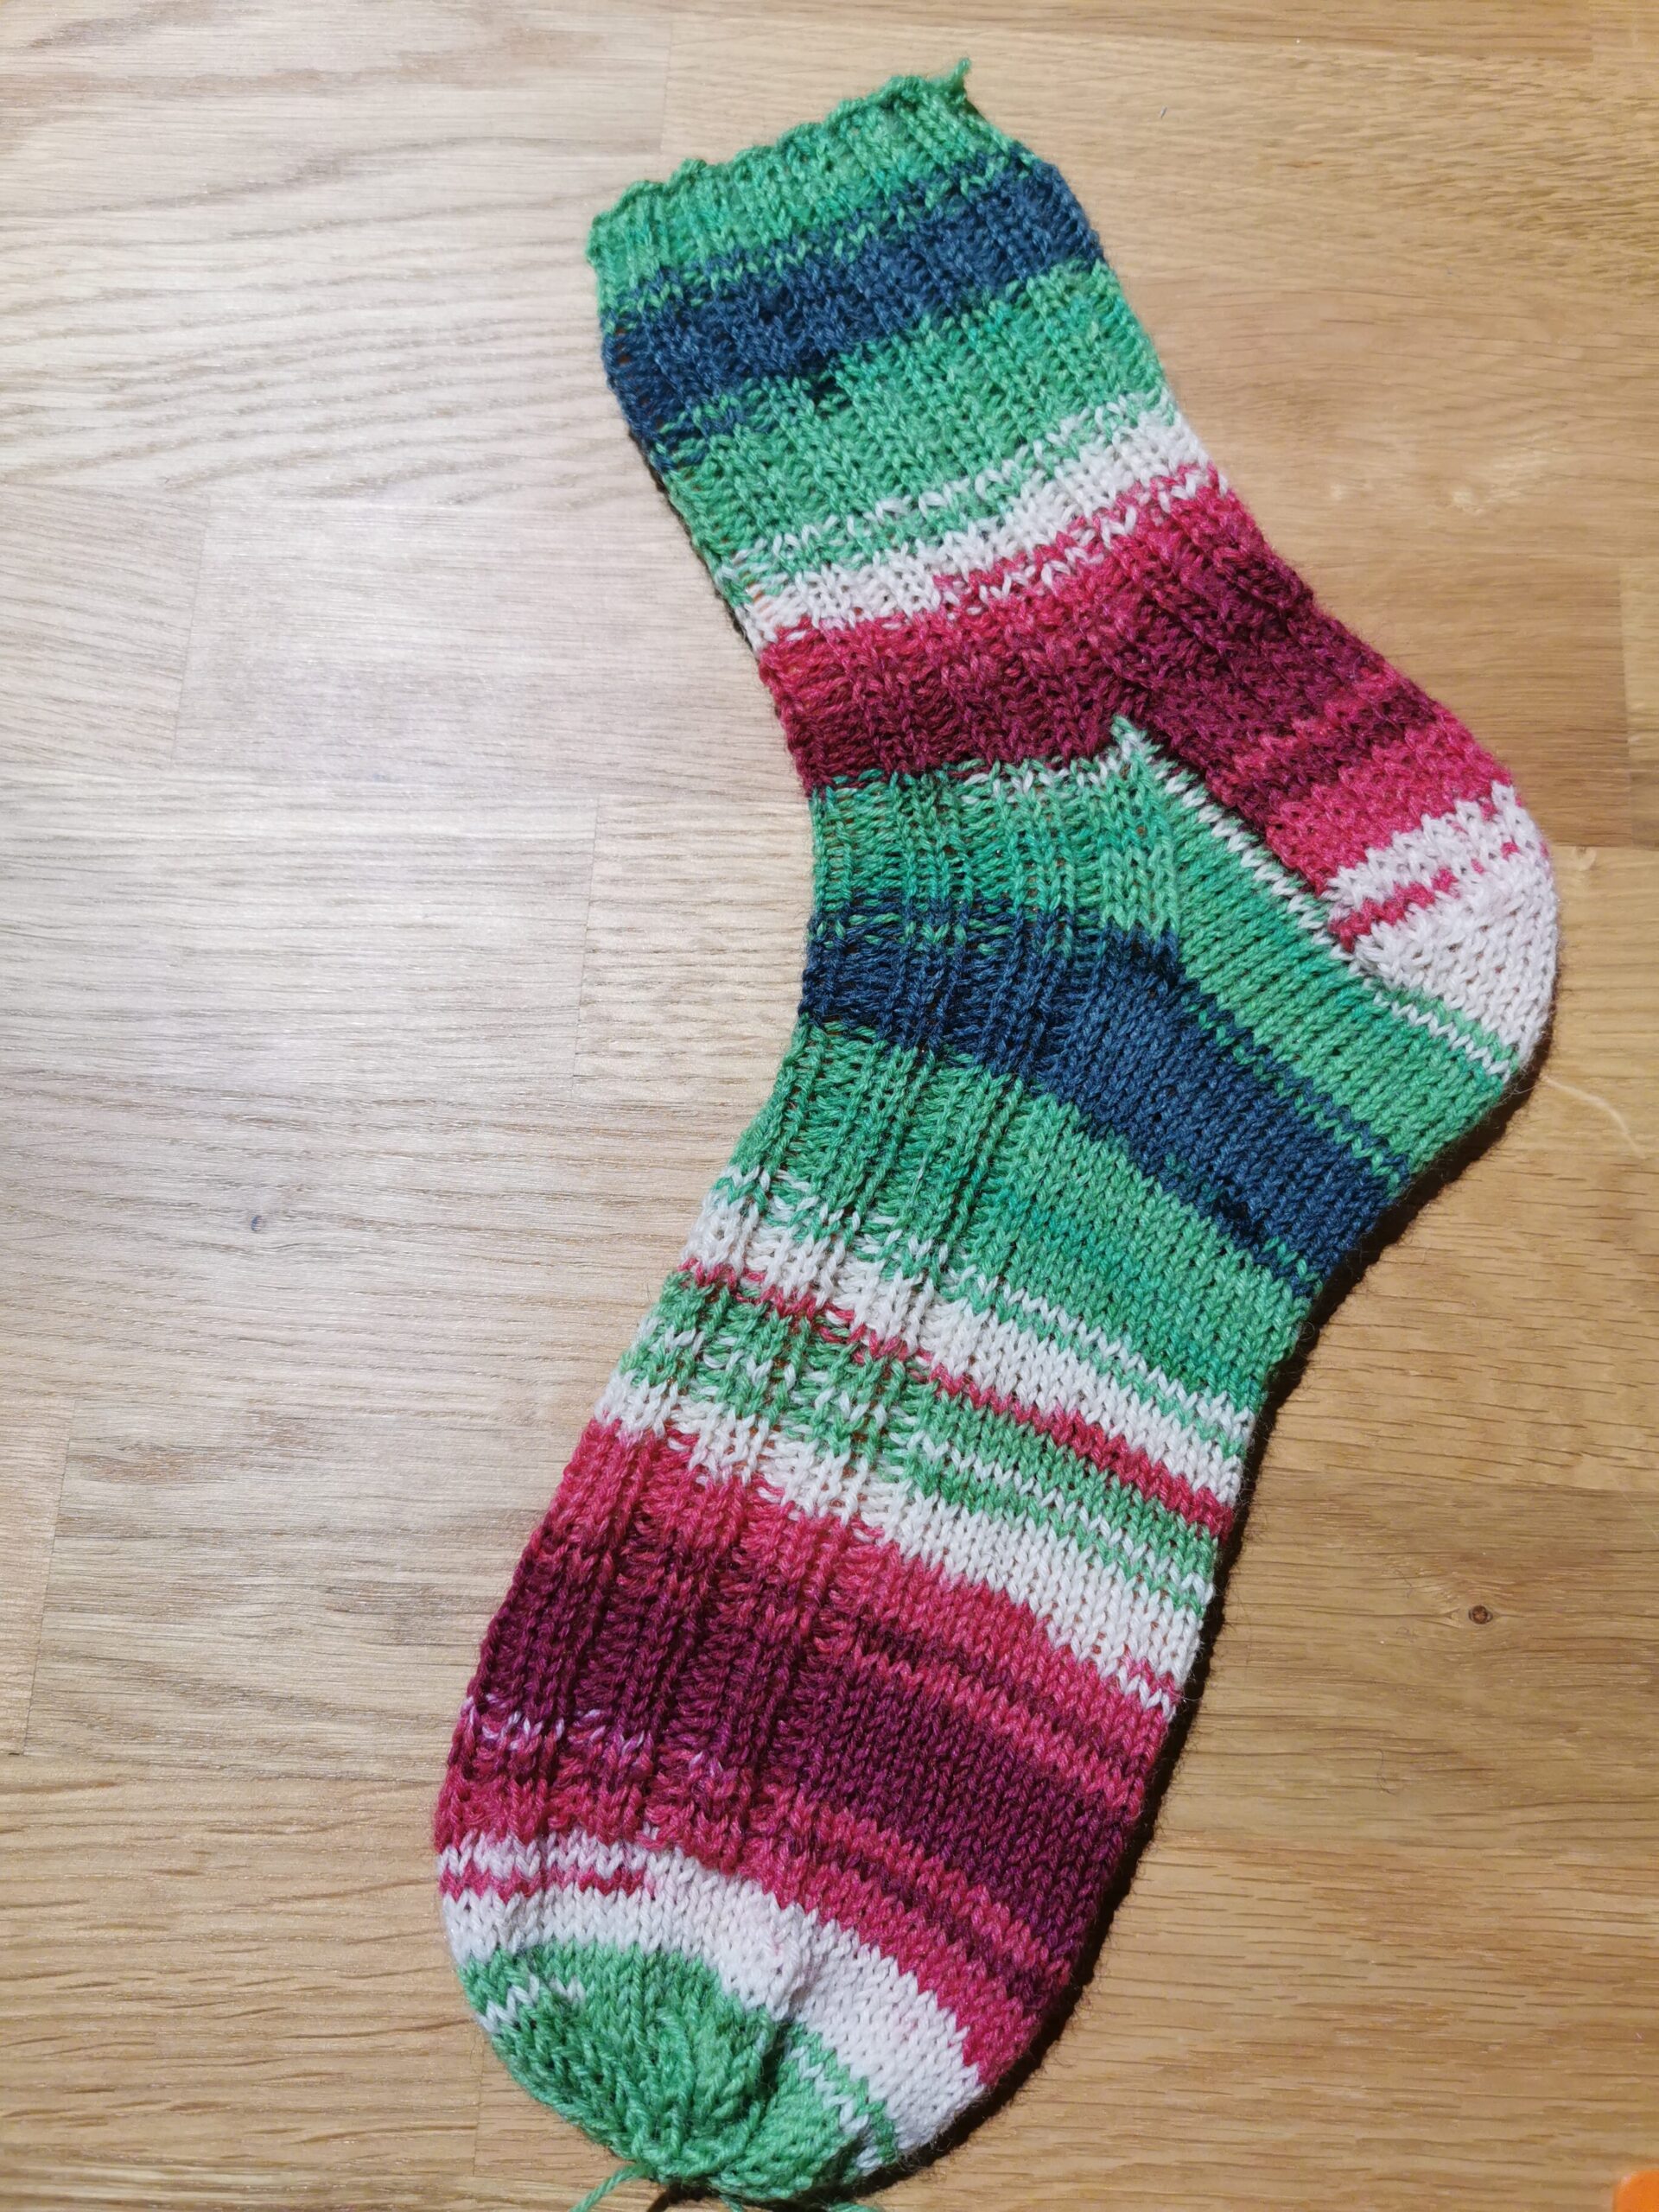
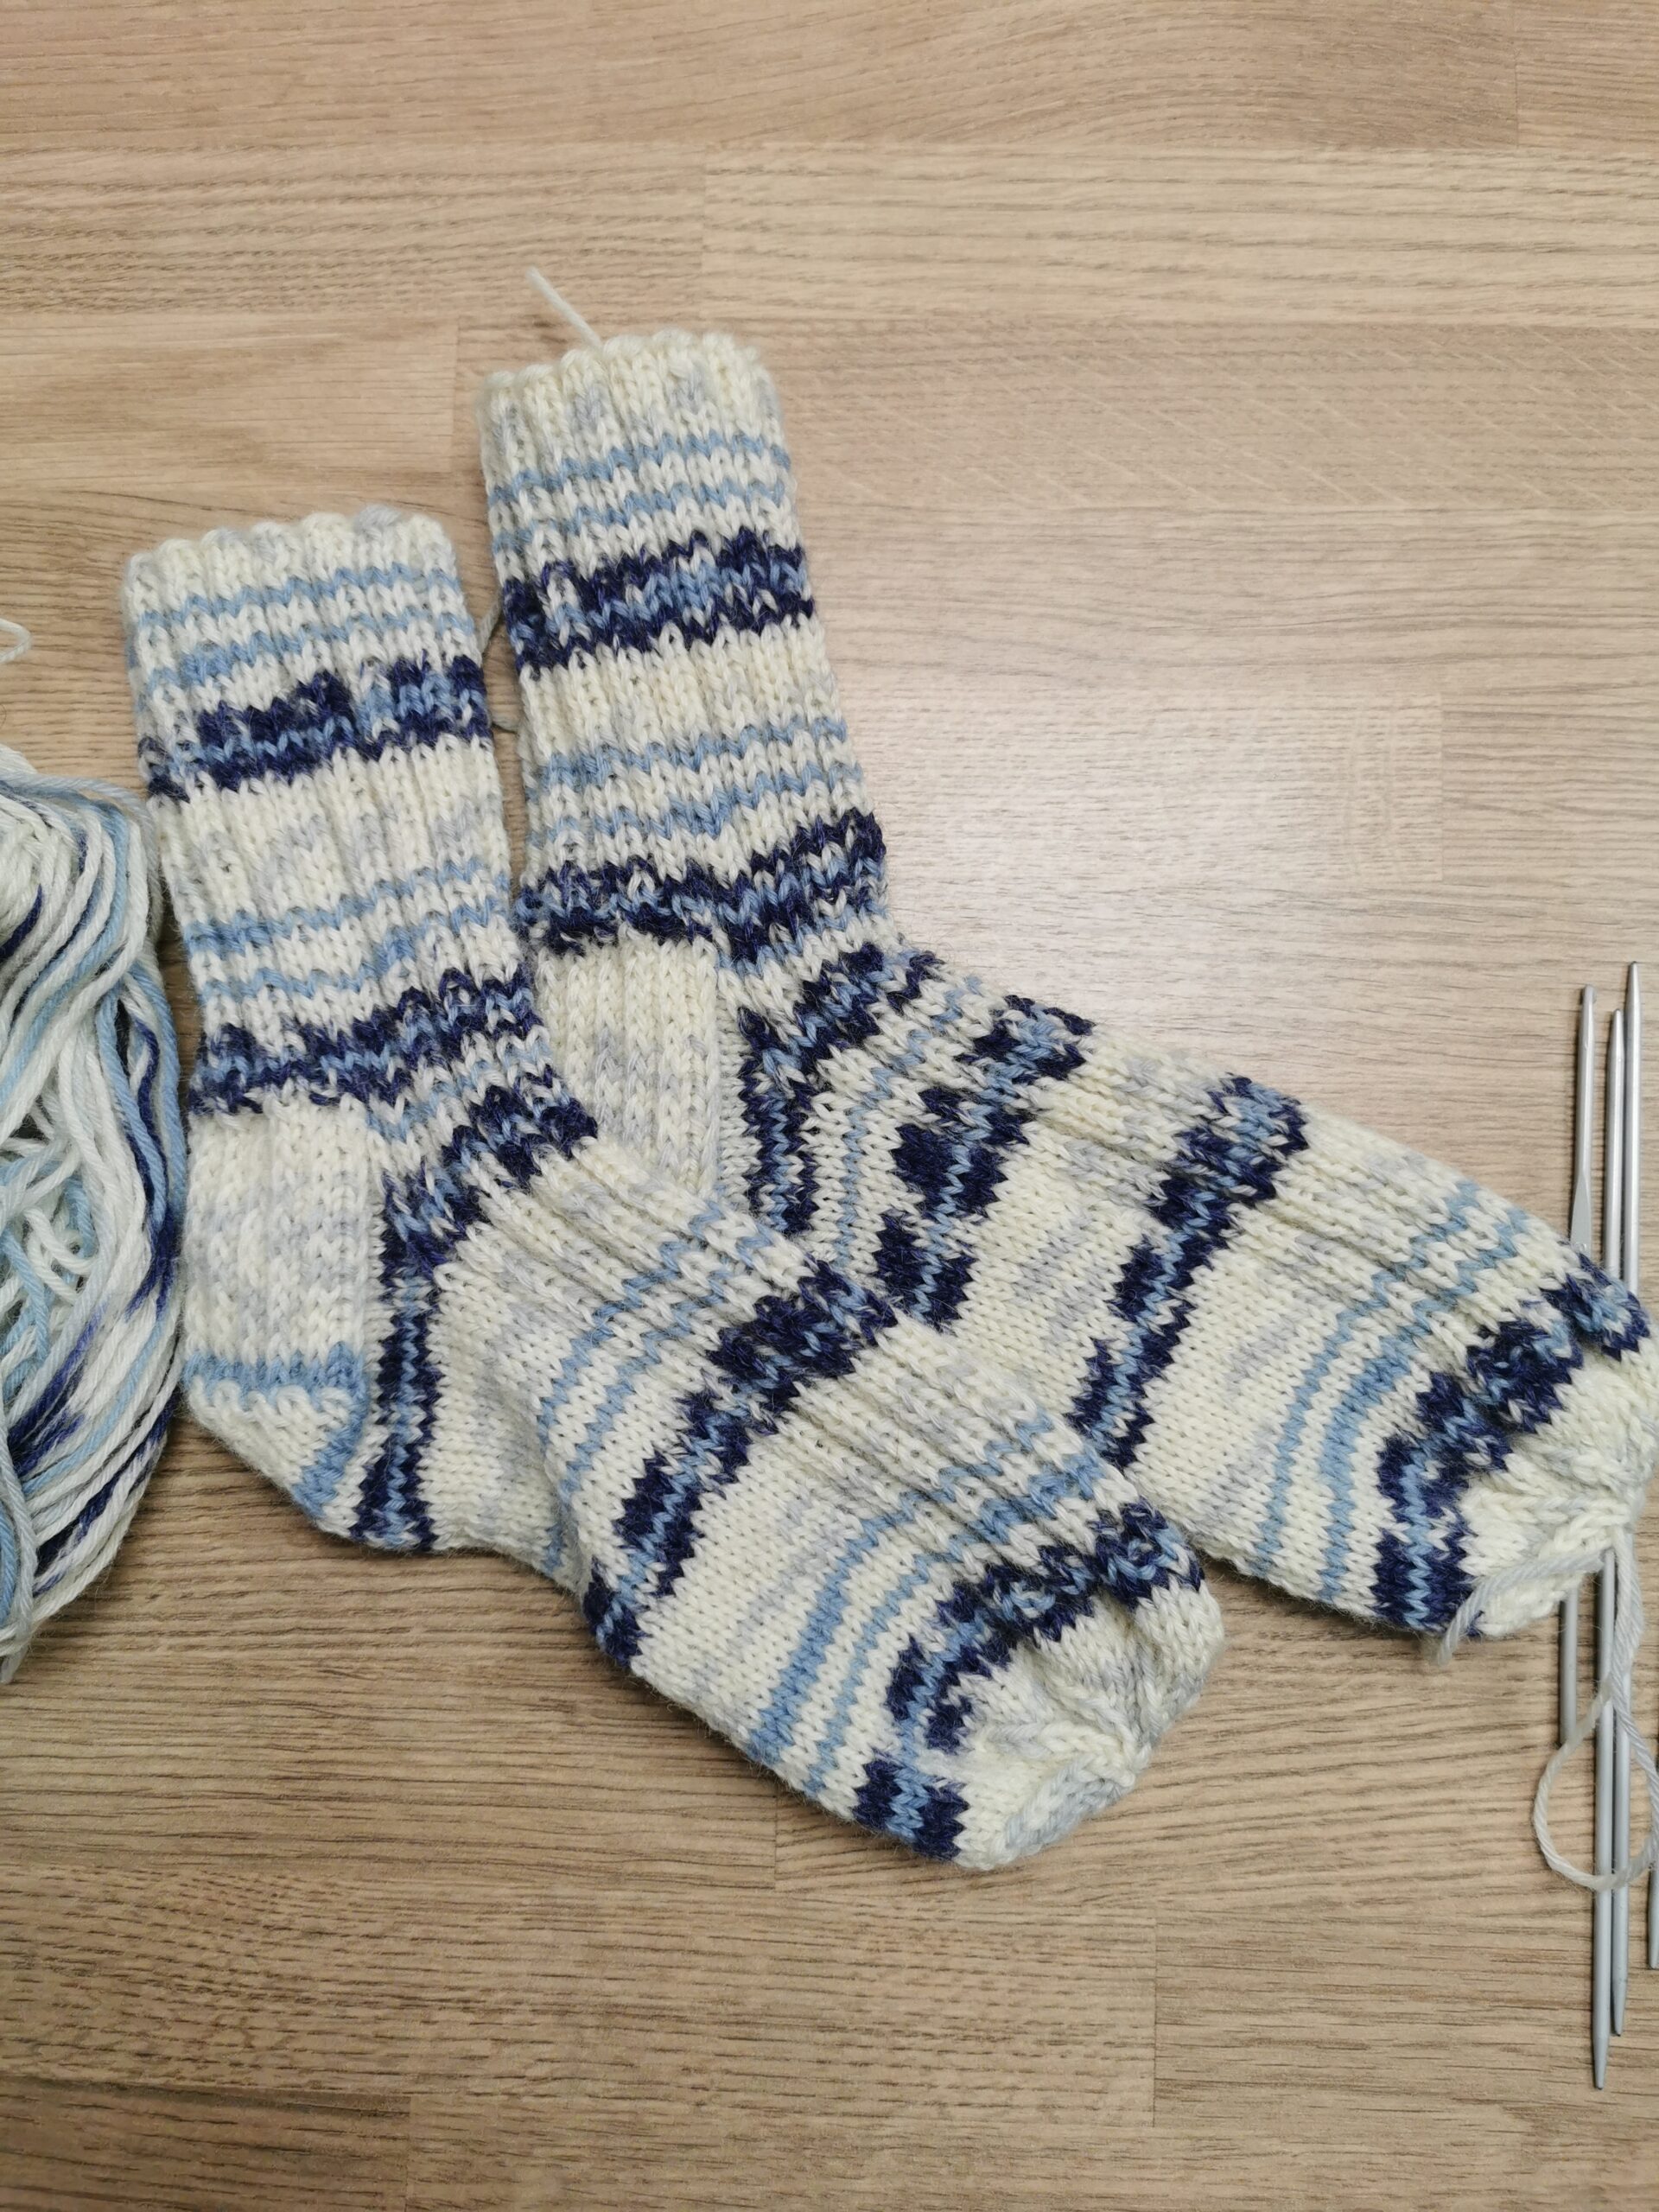
    I made a couple of pairs before Xmas:

    You can see my free sock patterns below: I knit socks with a reinforced heel and an easy toe decrease. I always include a rib stitch pattern because it looks better on the foot. I recommend trying a 4- 5 cm knitted row of your knitting on to make sure they fit comfortably.

    My free pattern for 4mm needles, size EU 37-38 (foot length: 23,5-24cm):

    My free pattern for 3mm needles, size EU 39-40(foot length: 24,5-25cm):

    Write a comment below if you knitted this pattern or if you have any questions about it.

  • Handwarmers with a simple, beautiful pattern

    Handwarmers with a simple, beautiful pattern

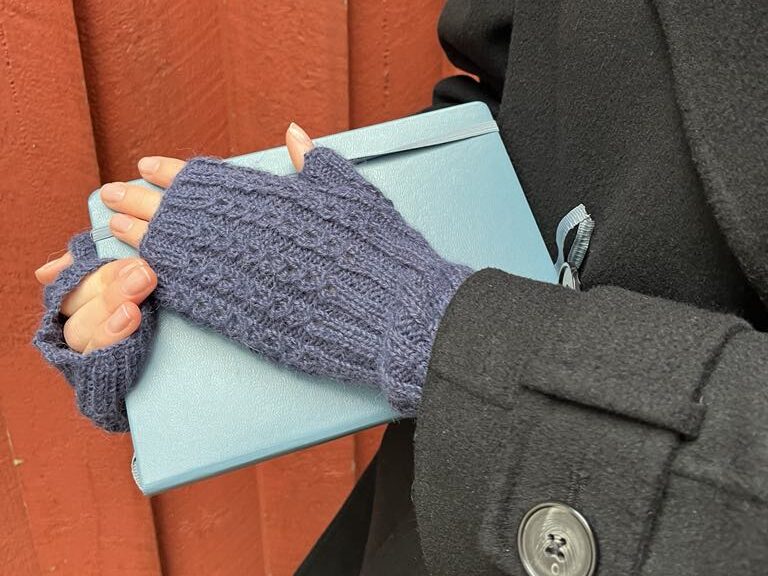
    You can follow my pattern of rib- stitch handwarmers

    Find the pattern here

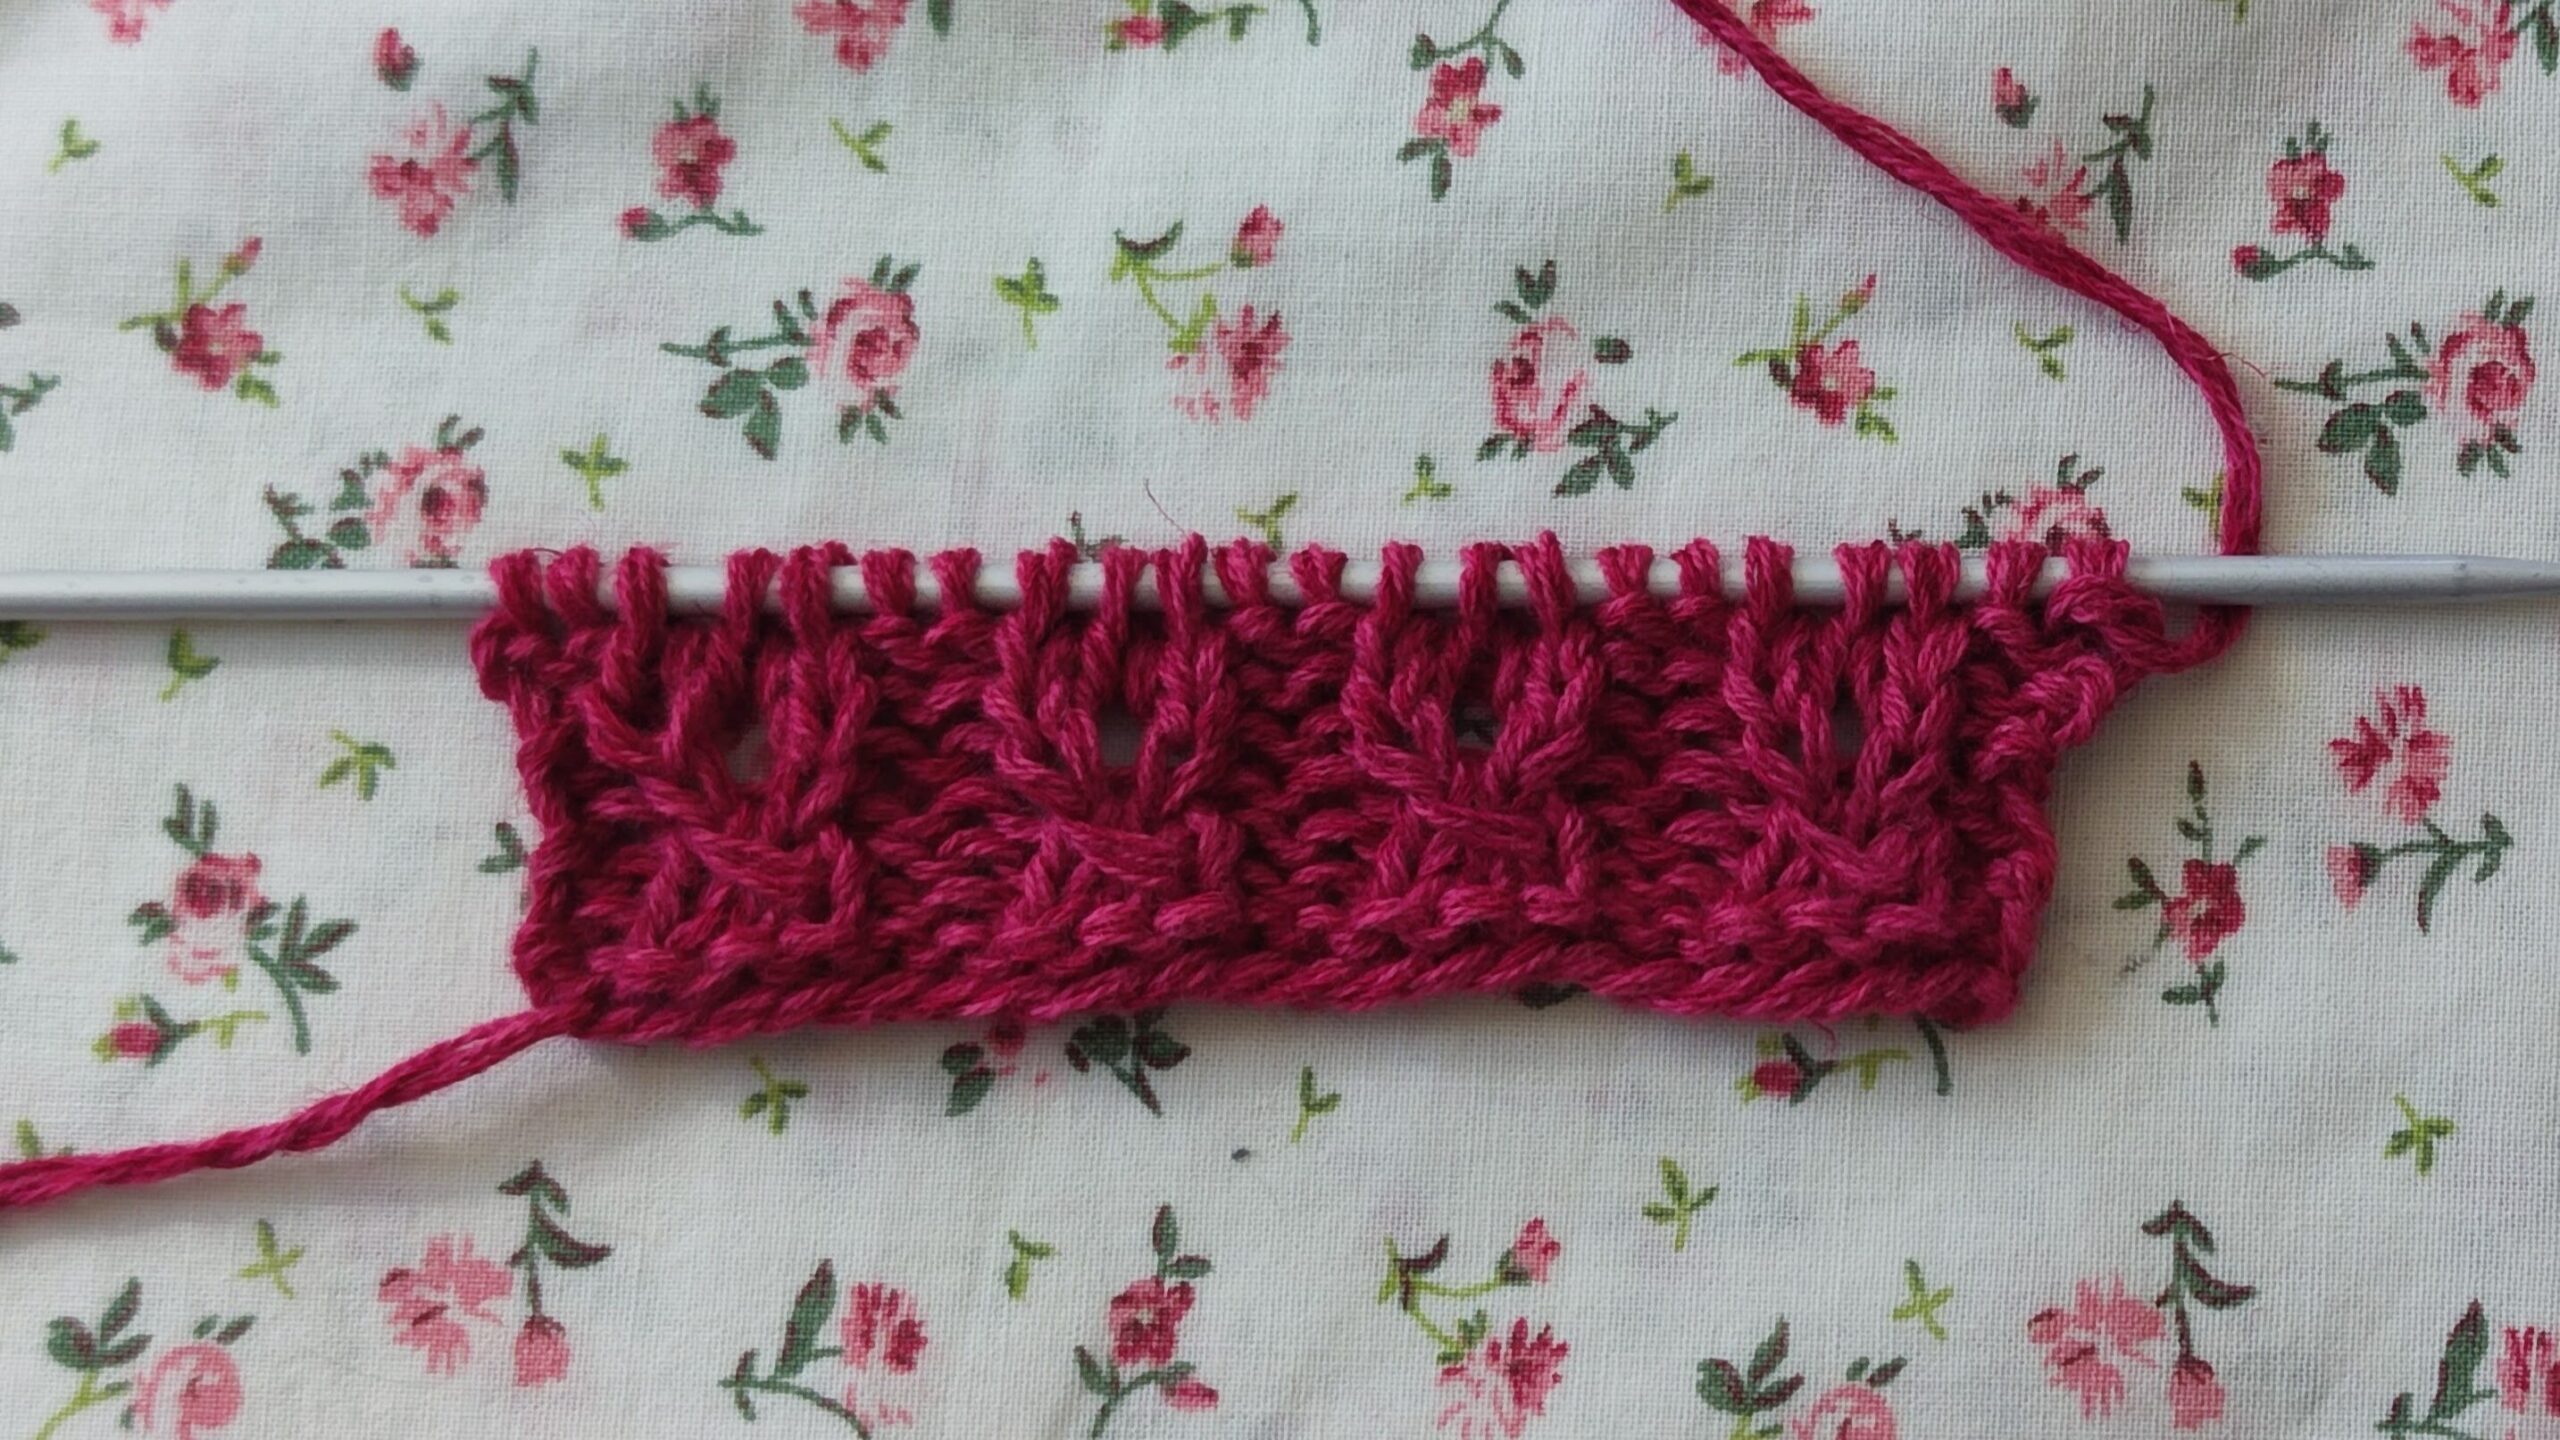
    and include this lace pattern below. Start knitting the lace pattern at the same time you start increasing the thumb part.

    Finish knitting the lace pattern, then switch to the rib stitch pattern for the last 7 rows. Knit 1 row and cast off.

    The pattern is a 4- row repetition; they fit in a knit 3, purl 2 rib pattern (knitting in a circle):

    Row 1: purl 2,slip 1, knit 2, pass the slipped stitch over the 2 knitted ones

    Row 2: purl 2, knit 1, yarn over, knit 1 (when you are knitting on 2 needles: knit 2, purl, yarn over, purl, )

    Row 3: purl 2, knit 3

    Row 4: purl 2, knit 3

    oplus_2097184

    When 1 have a knit 2 purl 2 rib pattern, I add 2 rows before I start the pattern described above:

    Row 1: purl 2, knit 1, yarn over, knit 1

    Row 2: purl 2, knit 3

    Have you tried knitting this pattern? Do you have a question? Write me a comment.

  • Handwarmers with a rib-stitch pattern

    Handwarmers with a rib-stitch pattern

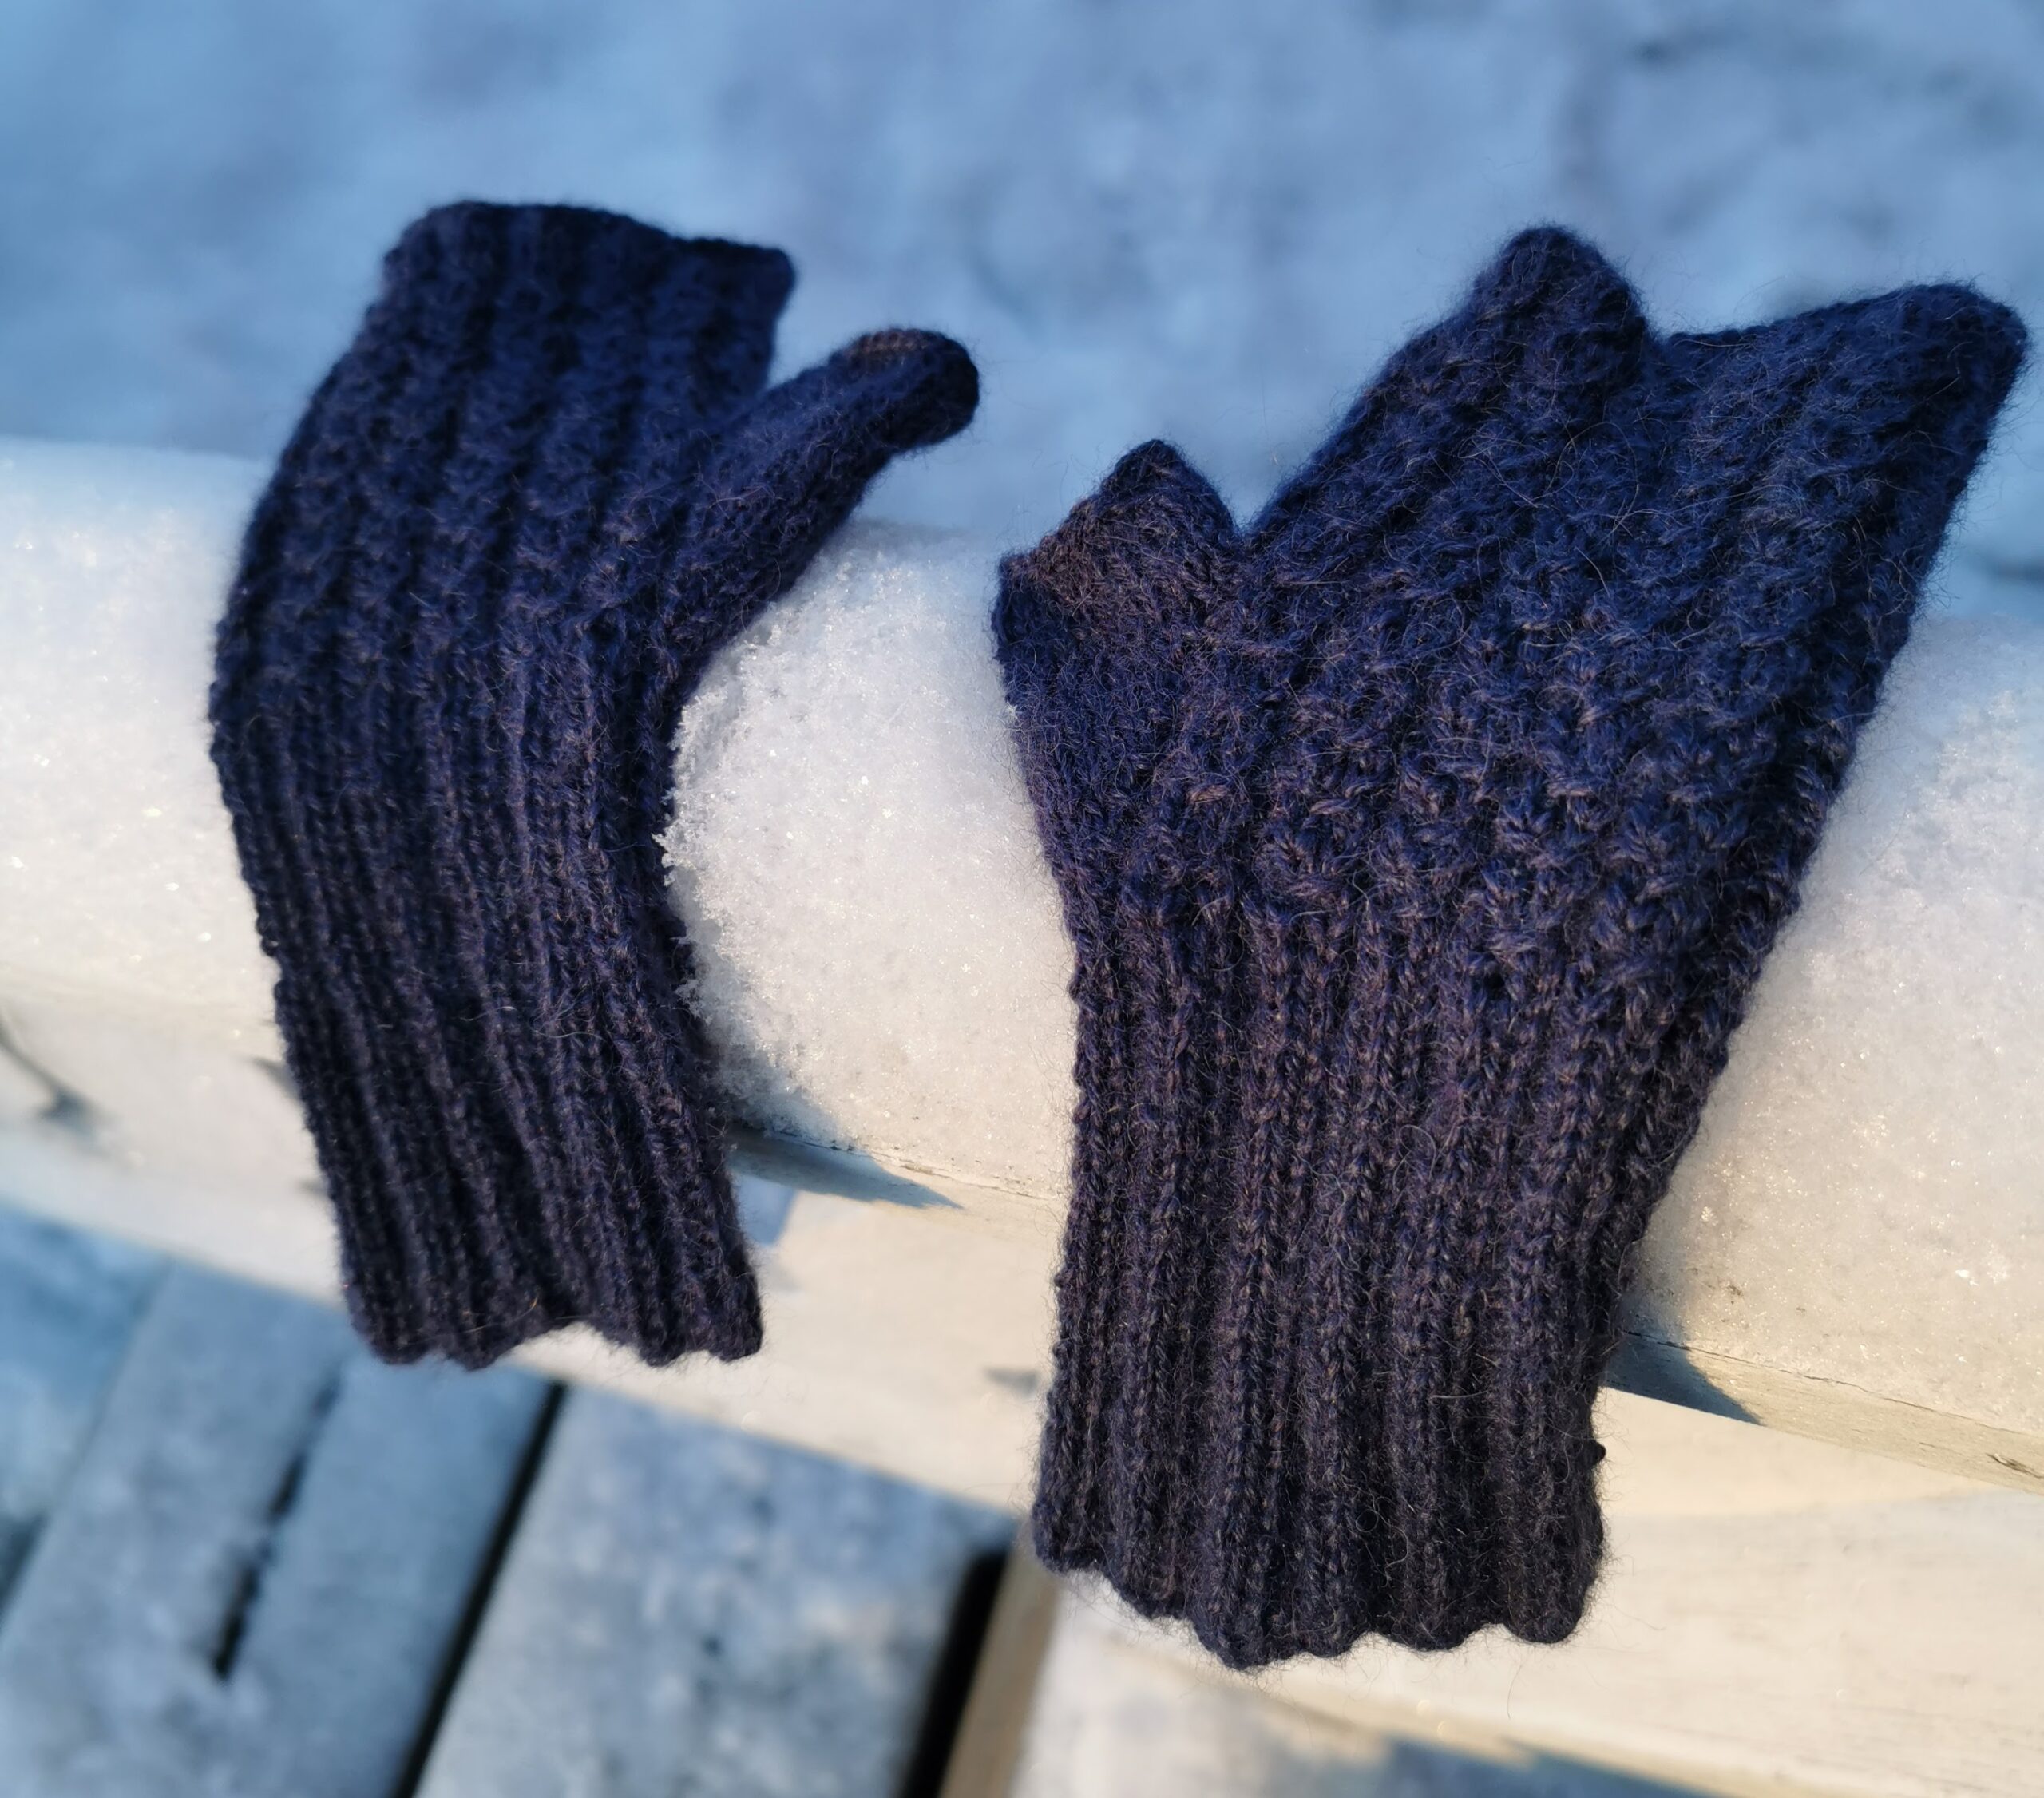
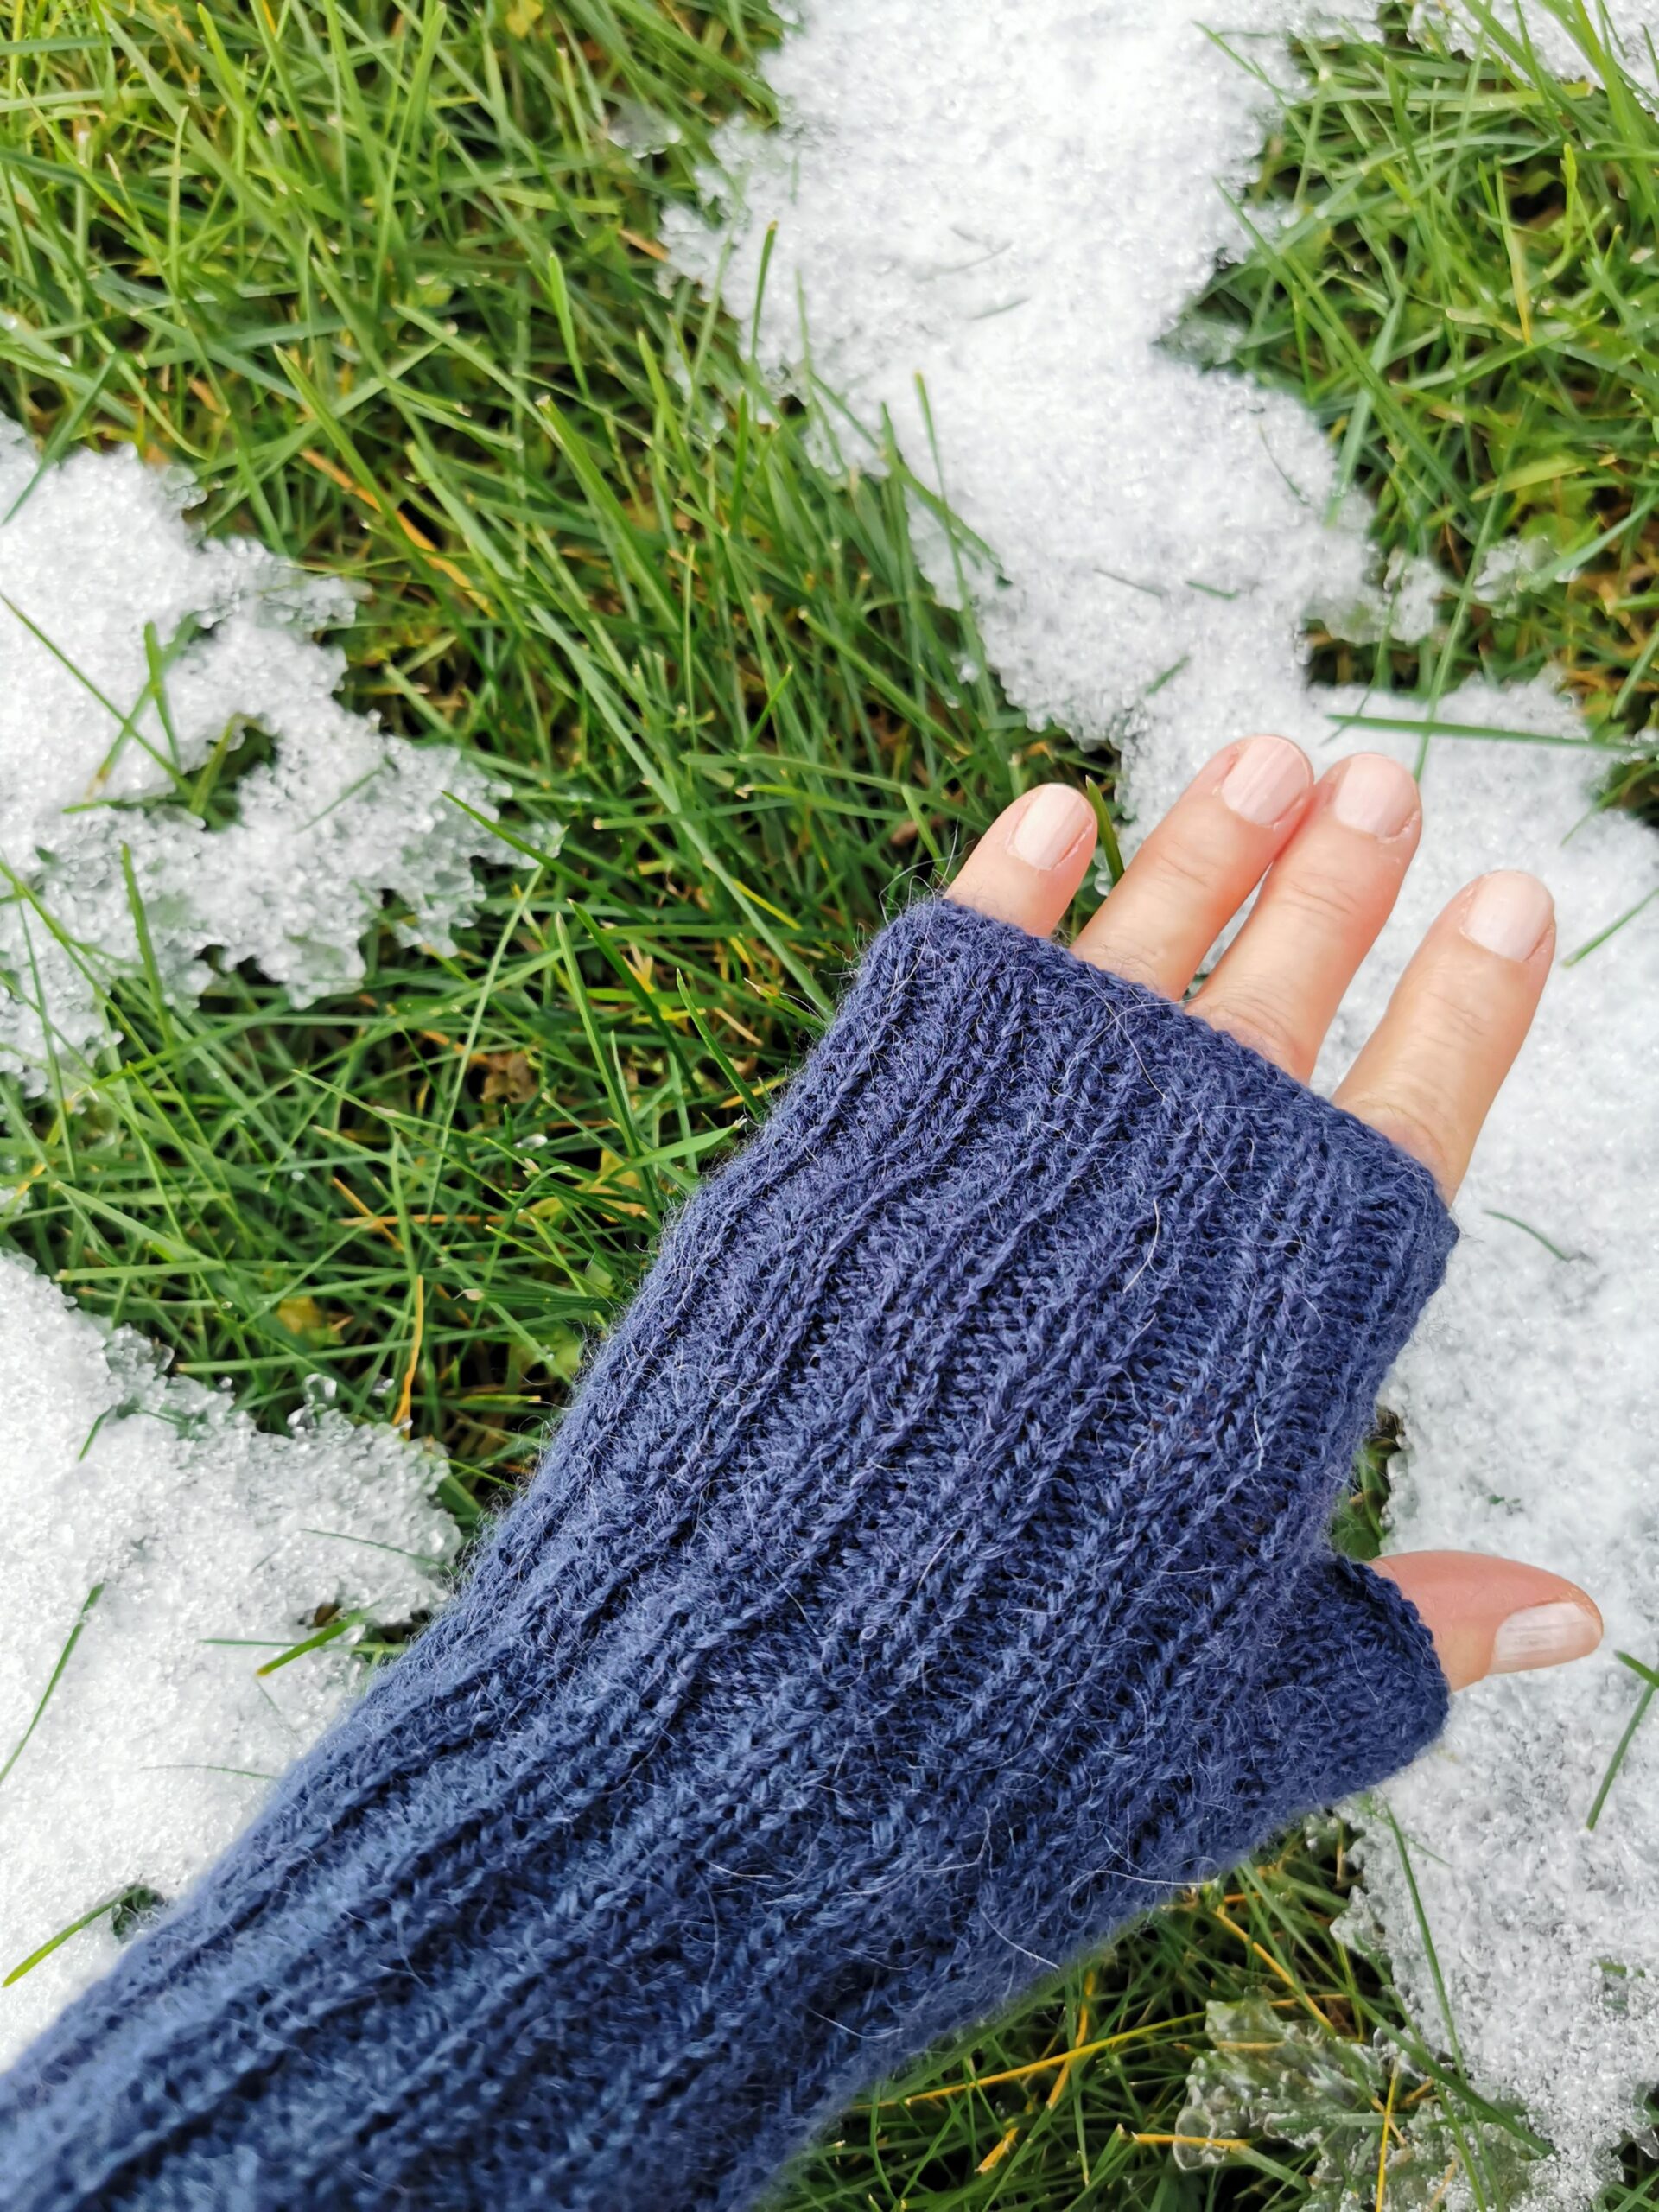
    These handwarmers are my favourites and I have knitted them several times. I used Drops Alpaca yarn and 3 mm double-pointed needles.

    This is my pattern of Drops Alpaca handwarmers :

    Handwarmers on double-pointed needles

    Drops Alpaca, 3mm double-pointed needles

    You need:

    100g Drops Alpaca yarn

    3mm double-pointed needles

    Crochet hook

    Stitch markers

    Sewing needle

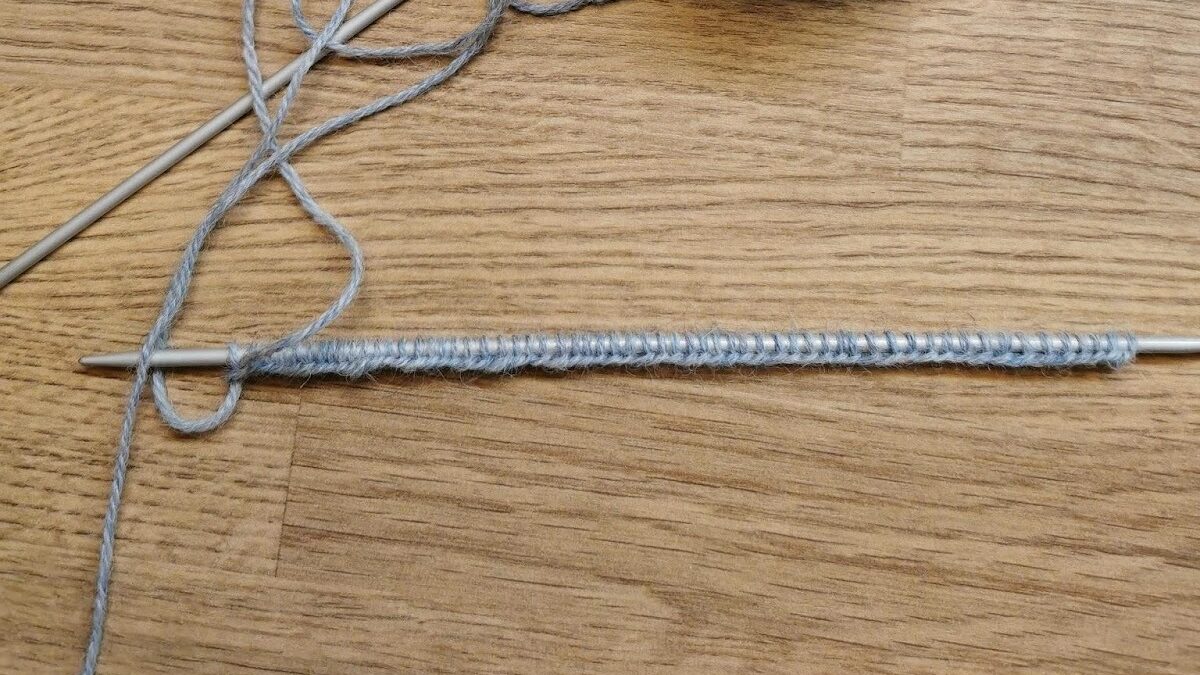
    Cast on 60 stitches on 3mm double-pointed needles. (You can start on one needle, purl 1 row.)

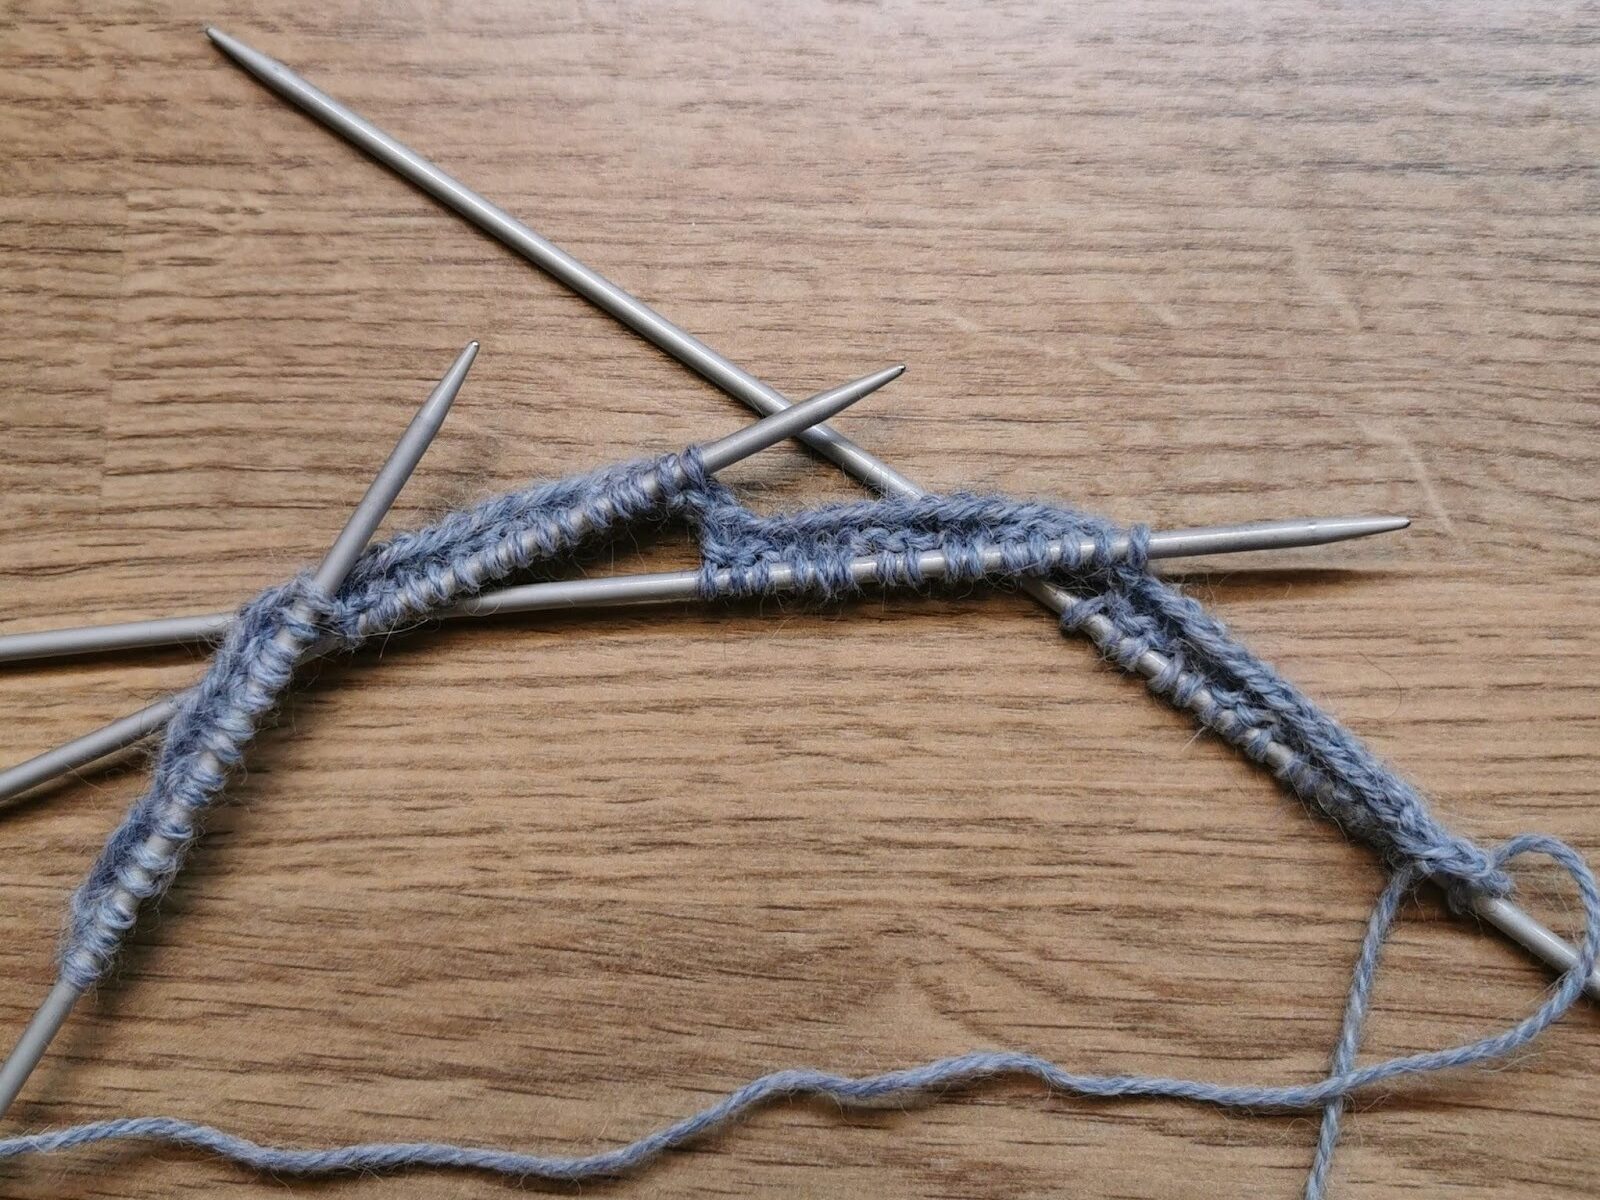
    *Purl three, knit two* and divide the stitches on four needles. (15 stitches on each needle) Start knitting on four needles.

    Left-hand handwarmer:

    Purl 3, Knit 2; continue this pattern until the piece measures 9 cm.

    Decrease 1 at every purl-stitch rib (purl 2 together); the pattern will be: purl 2, knit 2. (12 stitches on each needle; you have decreased 12 stitches in one row)

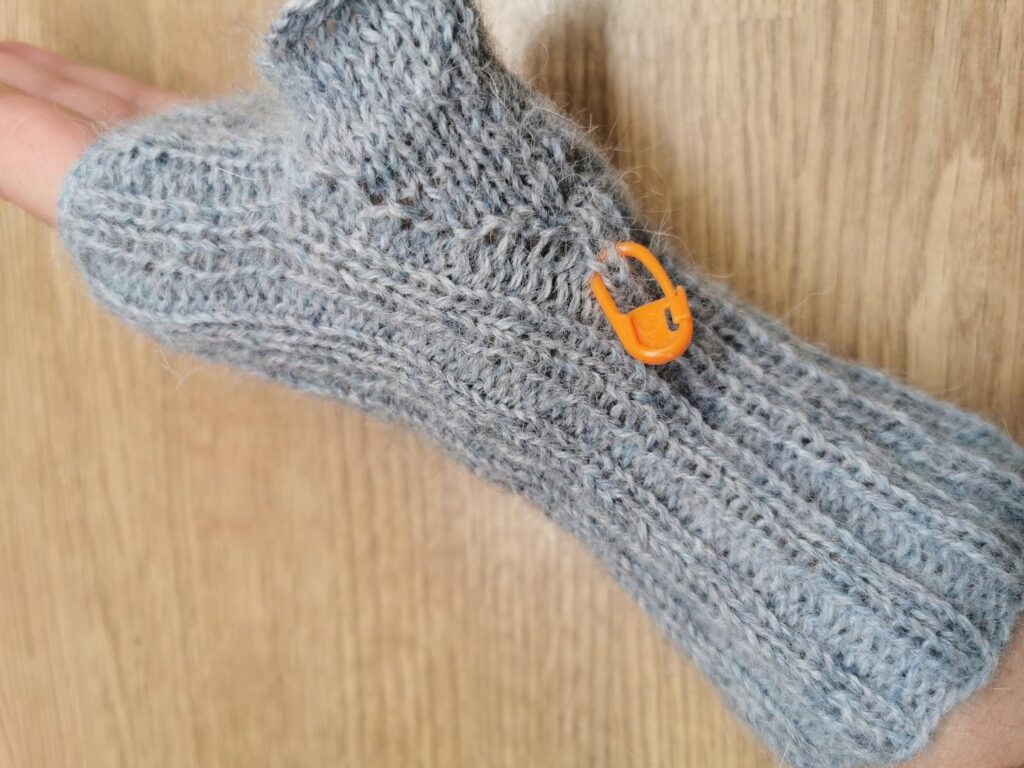
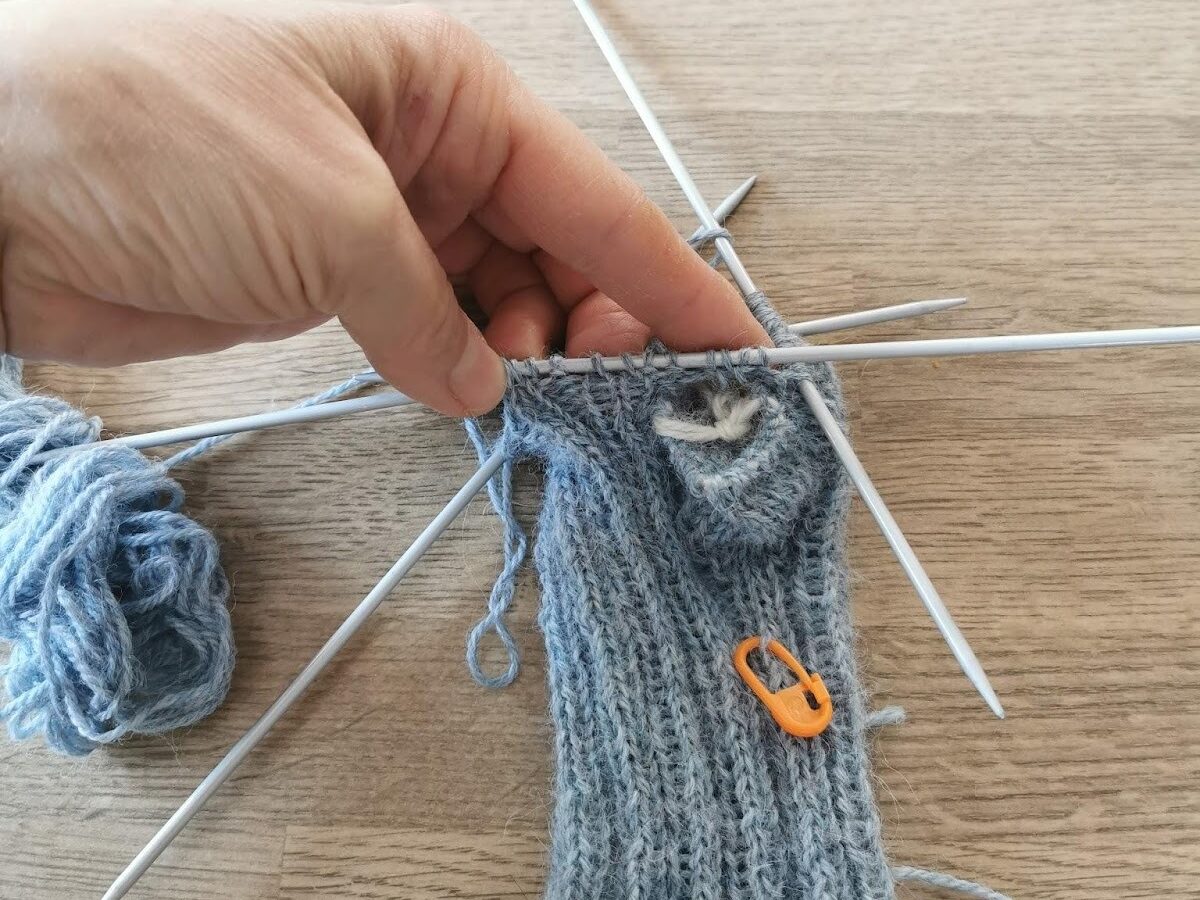
    Start increasing the thumb at the 15th-16th stitches (the 4th rib from the start of the row): yarn over on both sides of the knit-stitch rib. In the next row, knit these yarn overs twisted.

    Continue increasing until you have 16 stitches for the thumb section, then place them onto a piece of yarn using a crochet hook.

    Continue knitting the rib pattern and cast on/increase two stitches at the back of the thumb. 

    Knit 7 cms from the start of the back of the thumb. In the last 2 rows, just knit; do not continue the rib stitch. Cast off.

    Thumb: place the 16 stitches on two needles, cast on five stitches at the back of the thumb, divide the stitches on three needles evenly, knit five rows and cast off.

    Knit the right-hand handwarmer:

    Knit as above; the difference is that you start increasing the thumb part at the 35th-36th stitches. (4th rib from the end of the row)

    If you have questions about the handwarmer pattern, write to me in the comments.

  • Crochet bags

    Crochet bags

    Best crochet bags for the summer

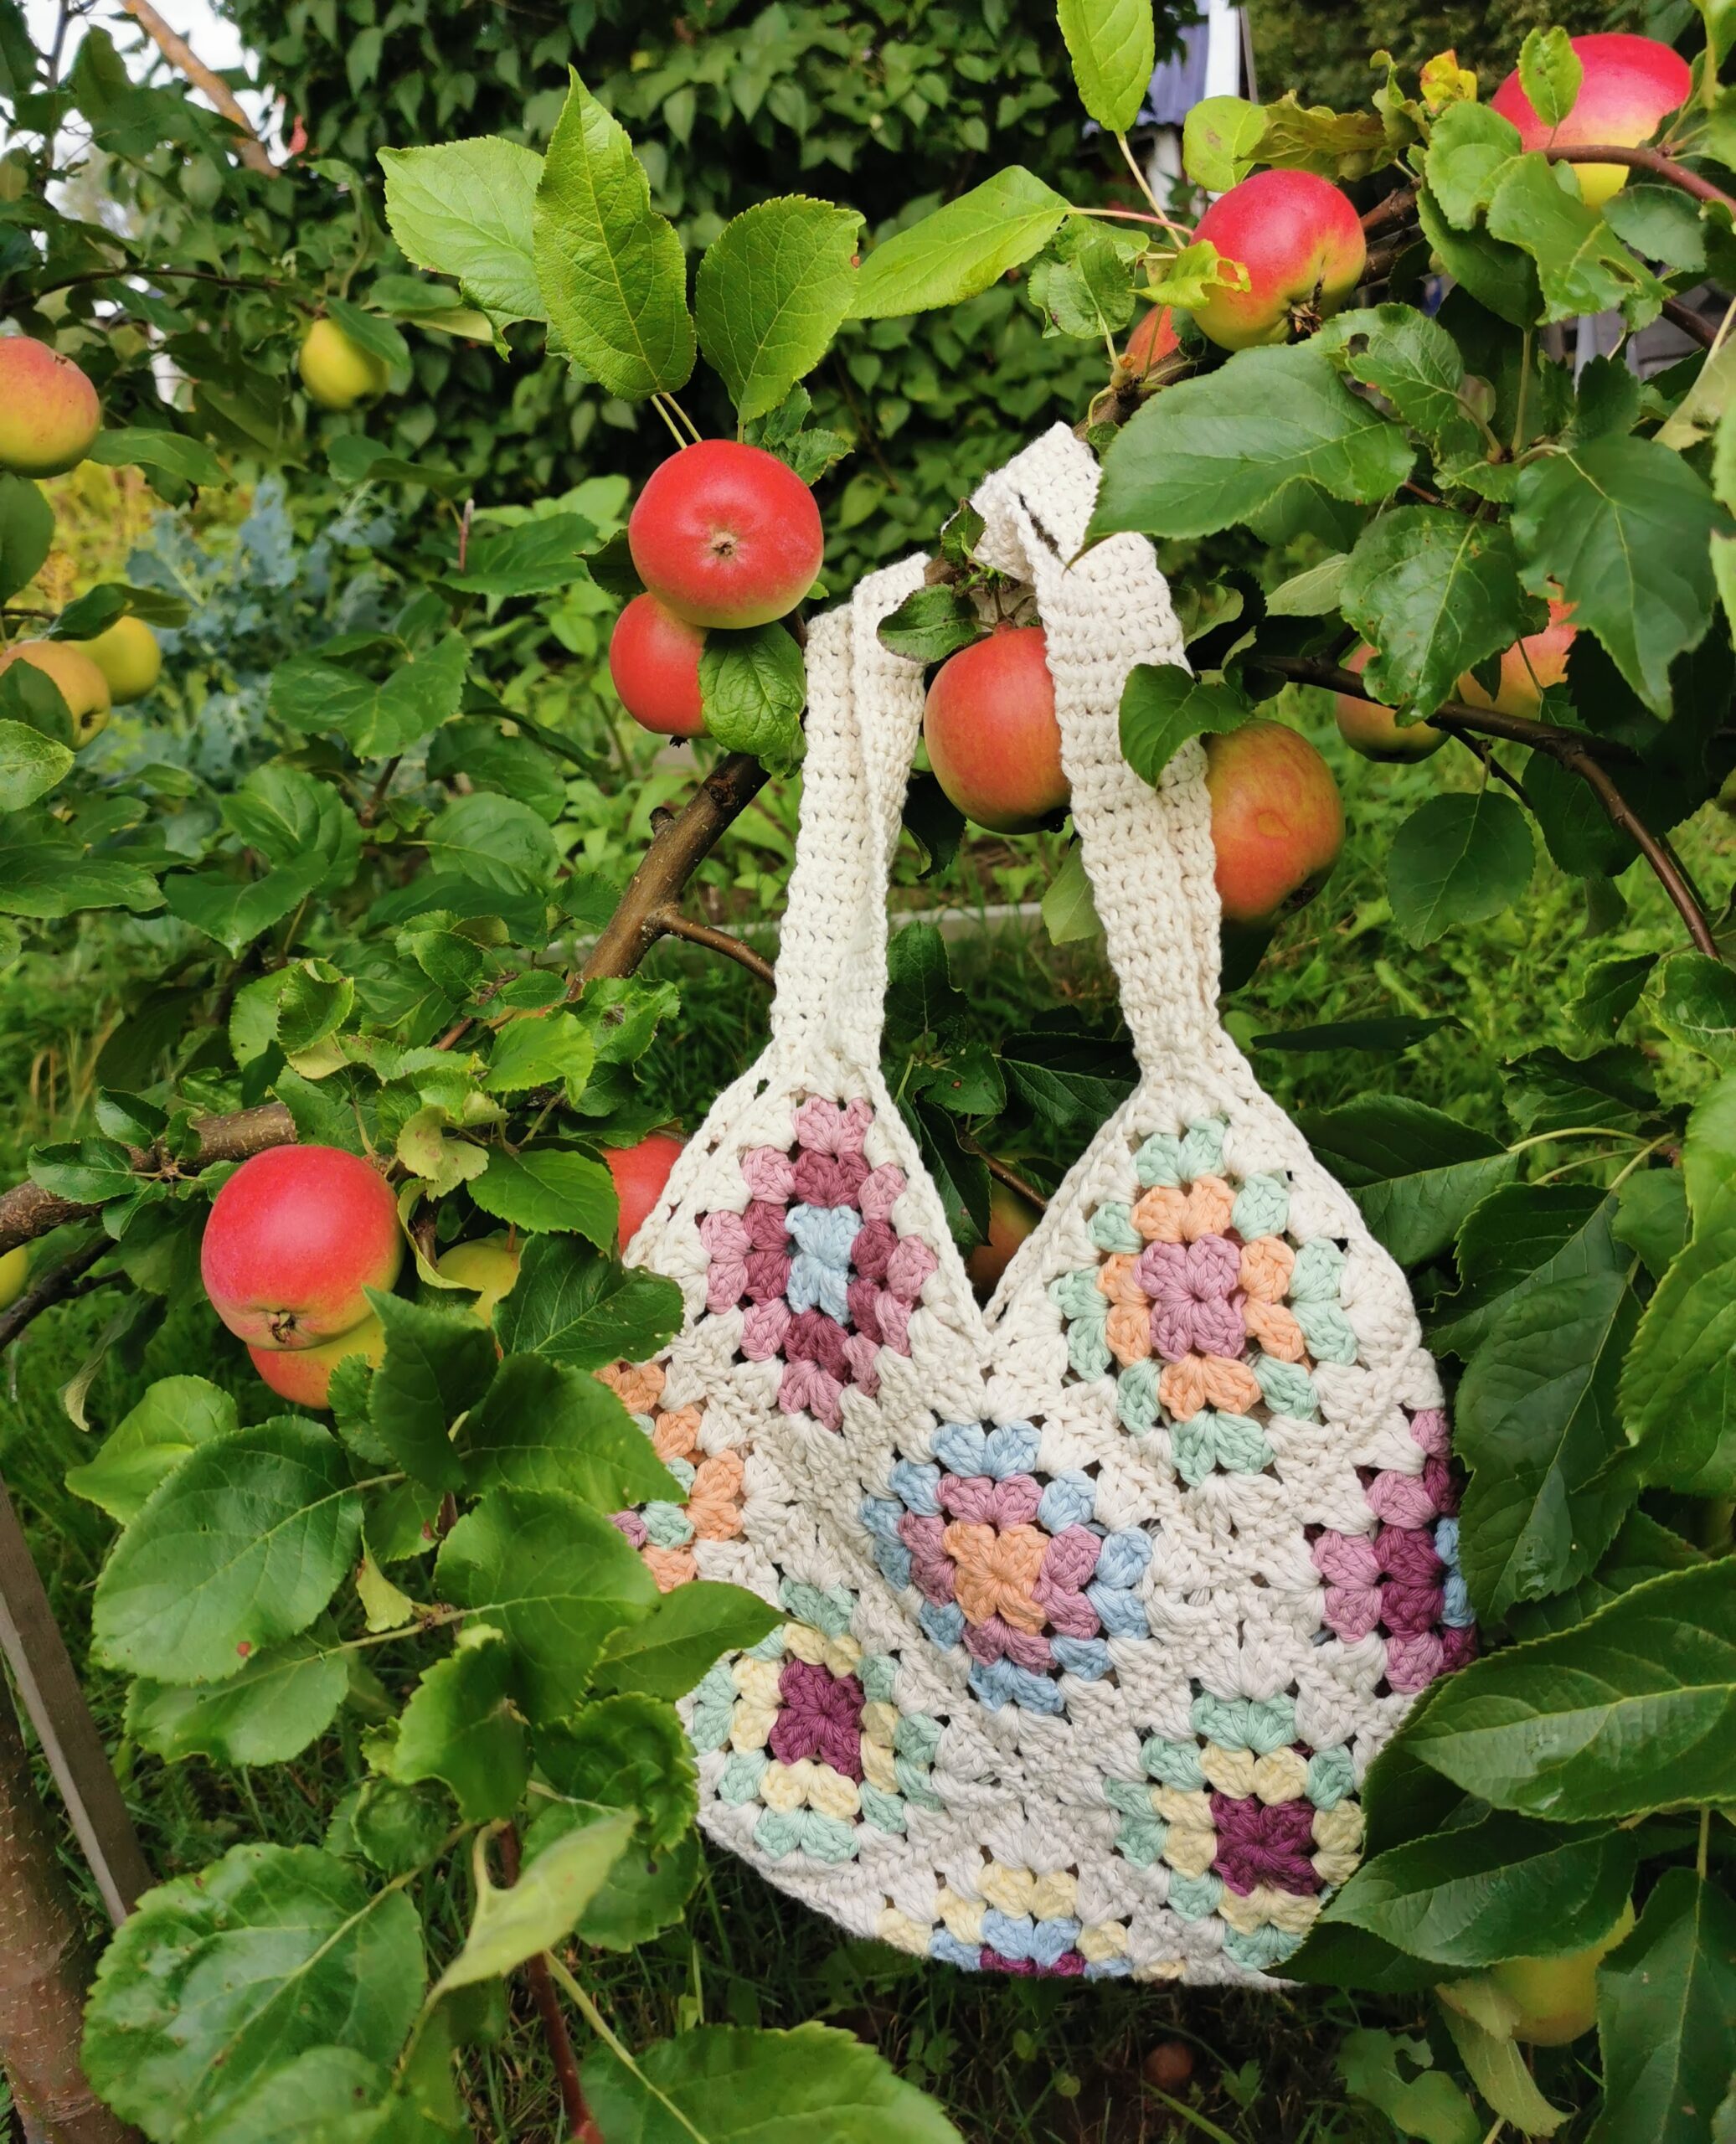
    I managed to make these two bags this summer. I’m thinking of lining them so that the bits and pieces I carry don’t get too mixed up in them. I use the crochet bags when it is warm outside and I go cycling or go for a walk, and my usual handbag just feels out of place to take with me.

    Drops design: Garden paths

    Link to Drops Design Garden Paths

    Drops bomul lin or Paris

     5mm hook

    Drops design: Celebrating spring

    Link to Drops Design Celebrating spring

    Celebrating spring

    I crocheted this pattern in two different base colours:

    I crocheted a beautiful pattern years earlier; this one has made it to the beach. 

    Ananas tas 

    I followed the pattern from this website: Link to Ananas Tas, Made in Assen by Zilla

    The plan for lining: I need a place for my phone, a book, my keys, and a water bottle. 

    Do you line your crochet bags, or are you happy just without it? 

    What is your favourite crochet bag pattern?