Hello friends,
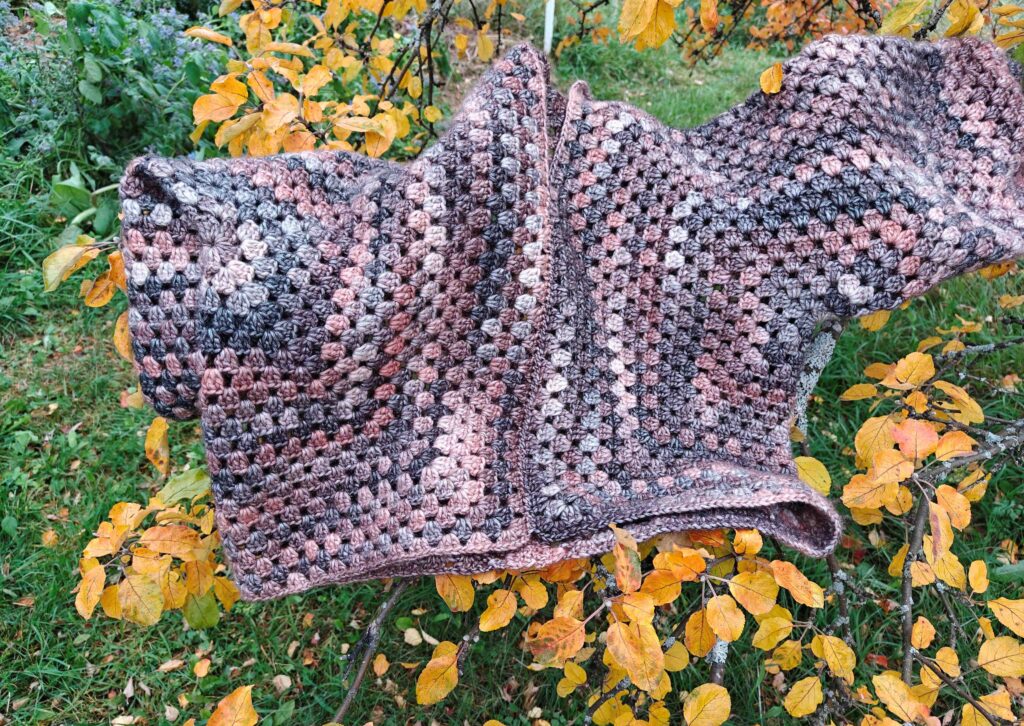
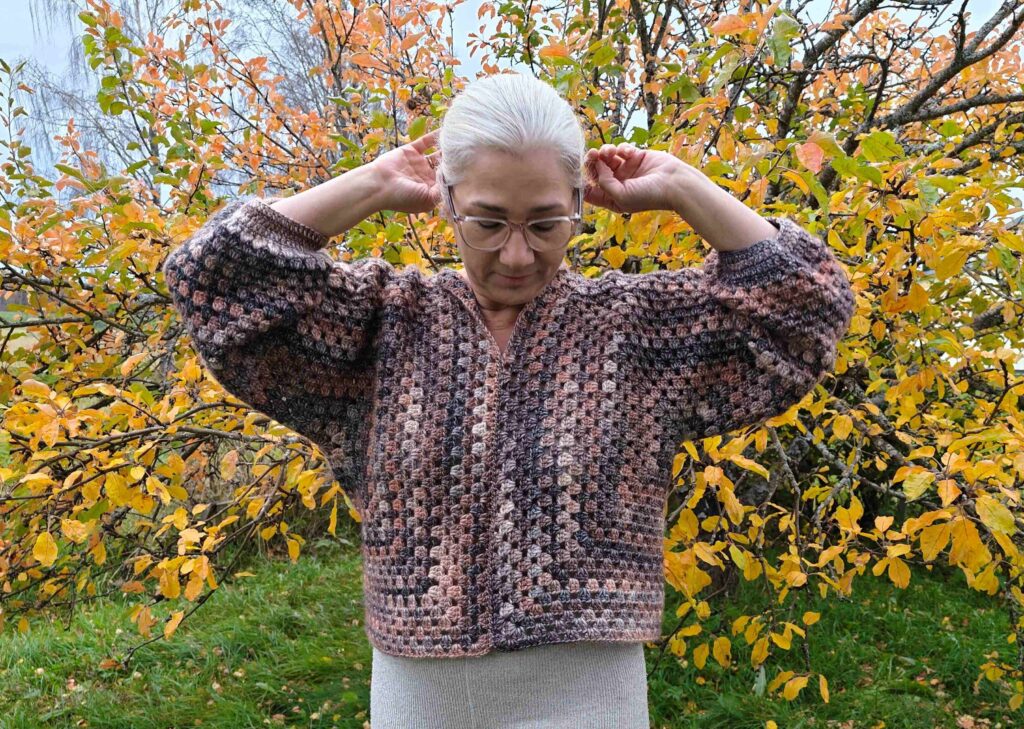
This is my first crocheted hexagon cardigan; it was easy and fun to make, but you need the right pattern. Some hexagons aren’t for cardigans; I’ve learned that from experience.
I used Drops Saffran cotton yarn from LindeHobby and a free pattern from Pinterest. After I made hexagons I could fold, and that were wide enough for the arm, I focused on the back of the cardigan to make it fit (wider). Before I crocheted the two pieces together, I made 5-5 rows at he back on both sides. Before I joined the upper part of the sleeves, I crocheted 1-1 row.
Next, I made the front part 5-5 rows wider. I made the sleeves longer, by crocheting 12 rows. Finally, I made the cardigan longer from the waist down. I crocheted 1 round of dc in every stitch, starting at the bottom, then continuing up the front and neck.
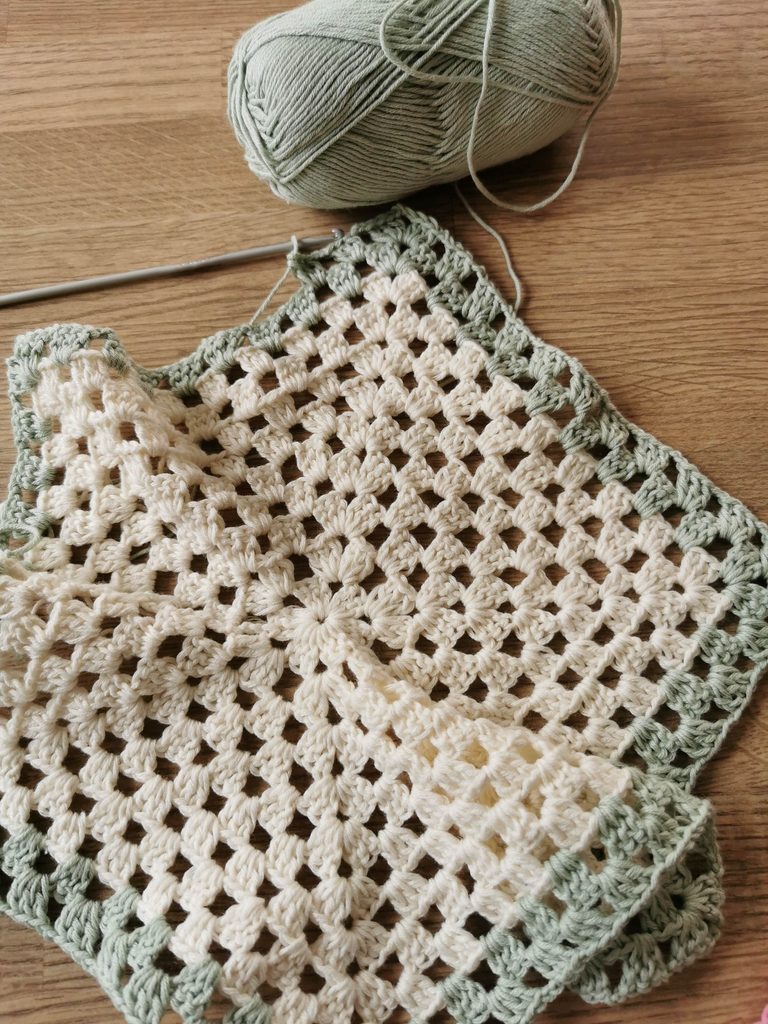
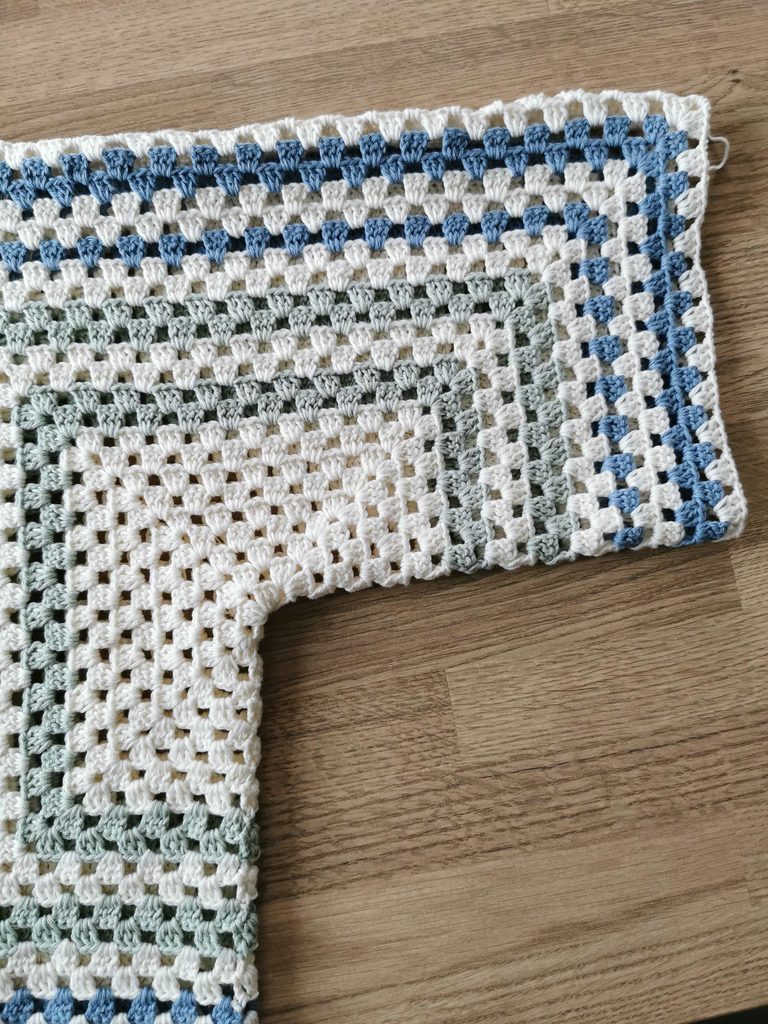
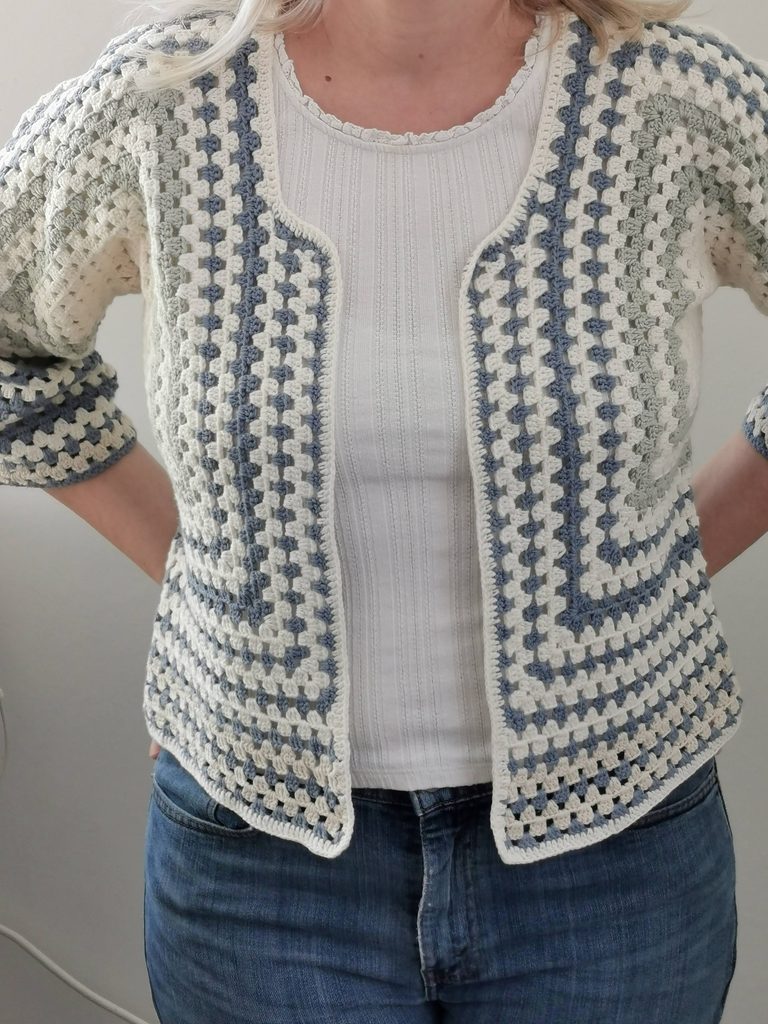
I also made a pullover with the hexagon pattern. I used Cascata yarn from Hobbii, which is 61% cotton and 39% acrylic. I used 600g (3 cakes) of yarn. I crocheted 2 hexagons, 22 rows big.
I added 2-2 rows at the back and 6 rows at the sleeves. I made the cuff at the sleeves by decreasing in a single-crochet row; I crocheted in every other stitch, and it became half the sleeve width, which feels comfortable. I crocheted 3 rows of double crochet stitches to finish. I didn’t turn my work while crocheting, so the piece has a right side and a wrong side.
The description of how to start the hexagon for a cardigan or sweater (not turning the work):
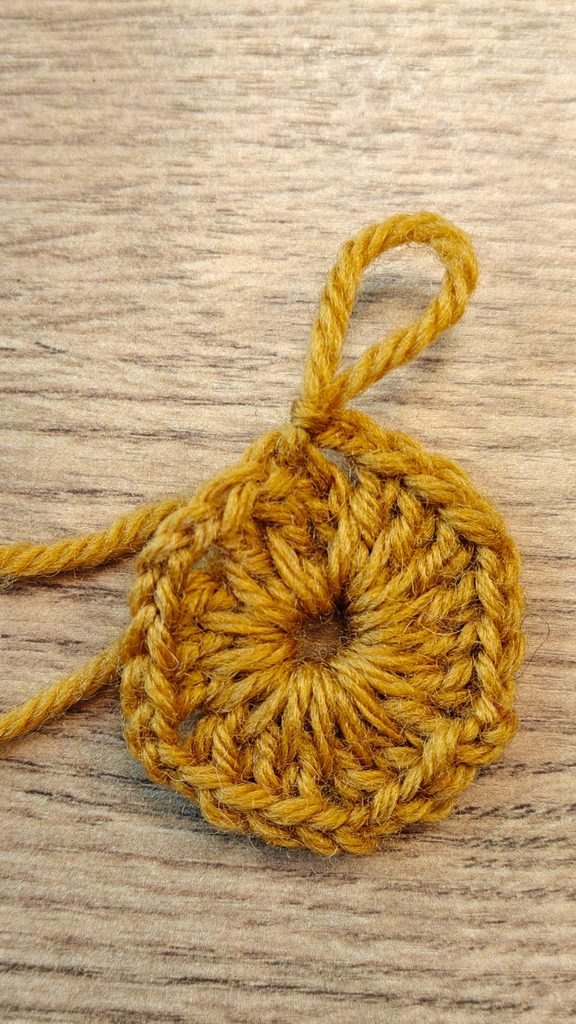
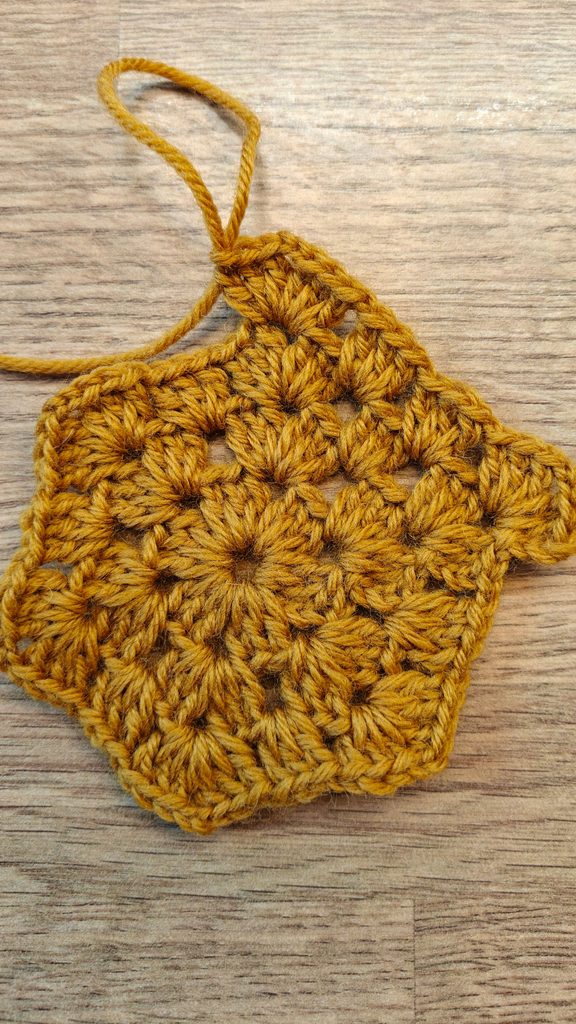
Row 1:Chain 5, make a ring.
Row 2:Chain 3, and crochet into the ring: 2 dc, ch 2,* 3 dc, ch 2* 5 times, a slip stitch into the 3rd chain, 2 slip stitches on top of the 2 dc (until you reach the ch2 part arch)
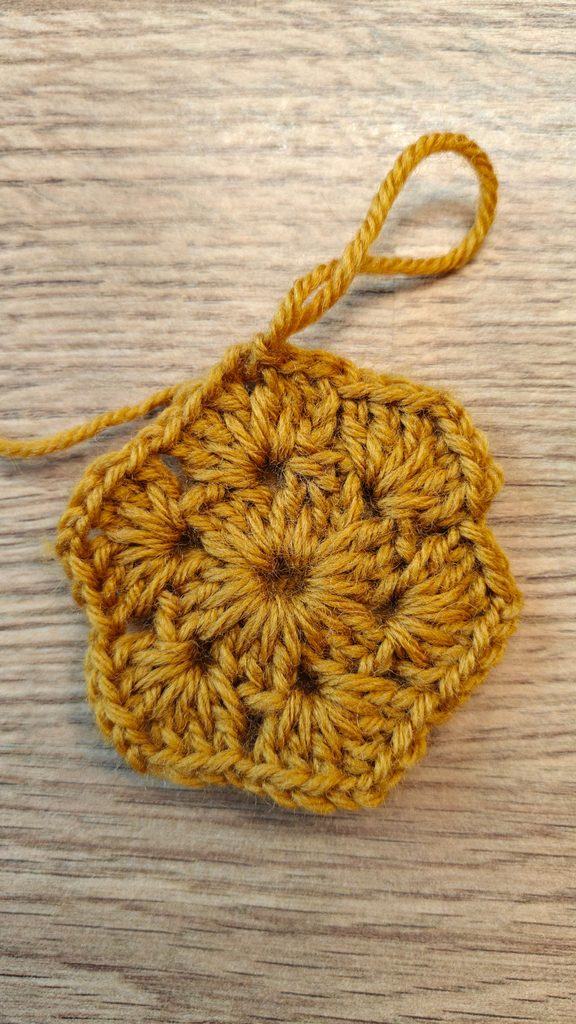
Row 3:Chain 3(starting the chains from the ch2 arch) , 2dc, ch2, 3dc into the same arch,*ch 1,(crochet into the next ch2 arch) 3dc, ch2 3dc into the same arch* 5 times, ch1, slip stitch into the 3rd chain, 2 slip stitches on top of the dc
(now you have 6 3dc,ch2,3dc clusters with 1ch between them. )
Row 4:ch3, 2dc into the arch, ch2, 3dc into the same arch,*ch 1, 3dc into the ch1 part of the previous row, ch 1, 3 dc, ch 2, 3 dc into the same arch* 5 times. Ch1, 3dc, ch1, 1 slip stitch into the 3rd chain, 2 slip stitches on top of the 2dc.
Row 5: chain 3, 2dc, ch2, 3dc into the same arch, *ch1, 3dc (into the ch1 part of the previous row), ch1 3dc, ch1, 3dc,ch 2,3dc into the same arch* 5 times, ch1, 3dc, ch1, 3dc, ch1, 1 slip stitch into the 3rd chain, 2 slip stitches on top of the 2dc.
ch – chain
dc – double crochet
Happy crocheting, have a good day.